Floating End Tables
- Woodworking
My brothers and I got to try out many different tools growing up since our dad worked on renovating an old warehouse building in downtown Dallas. I learned a lot over more than 20 years of the building being in the family, and with those skills I wanted to give proper woodworking a shot. I needed end tables and had seen some pretty floating ones online which motivated me to take on this project.
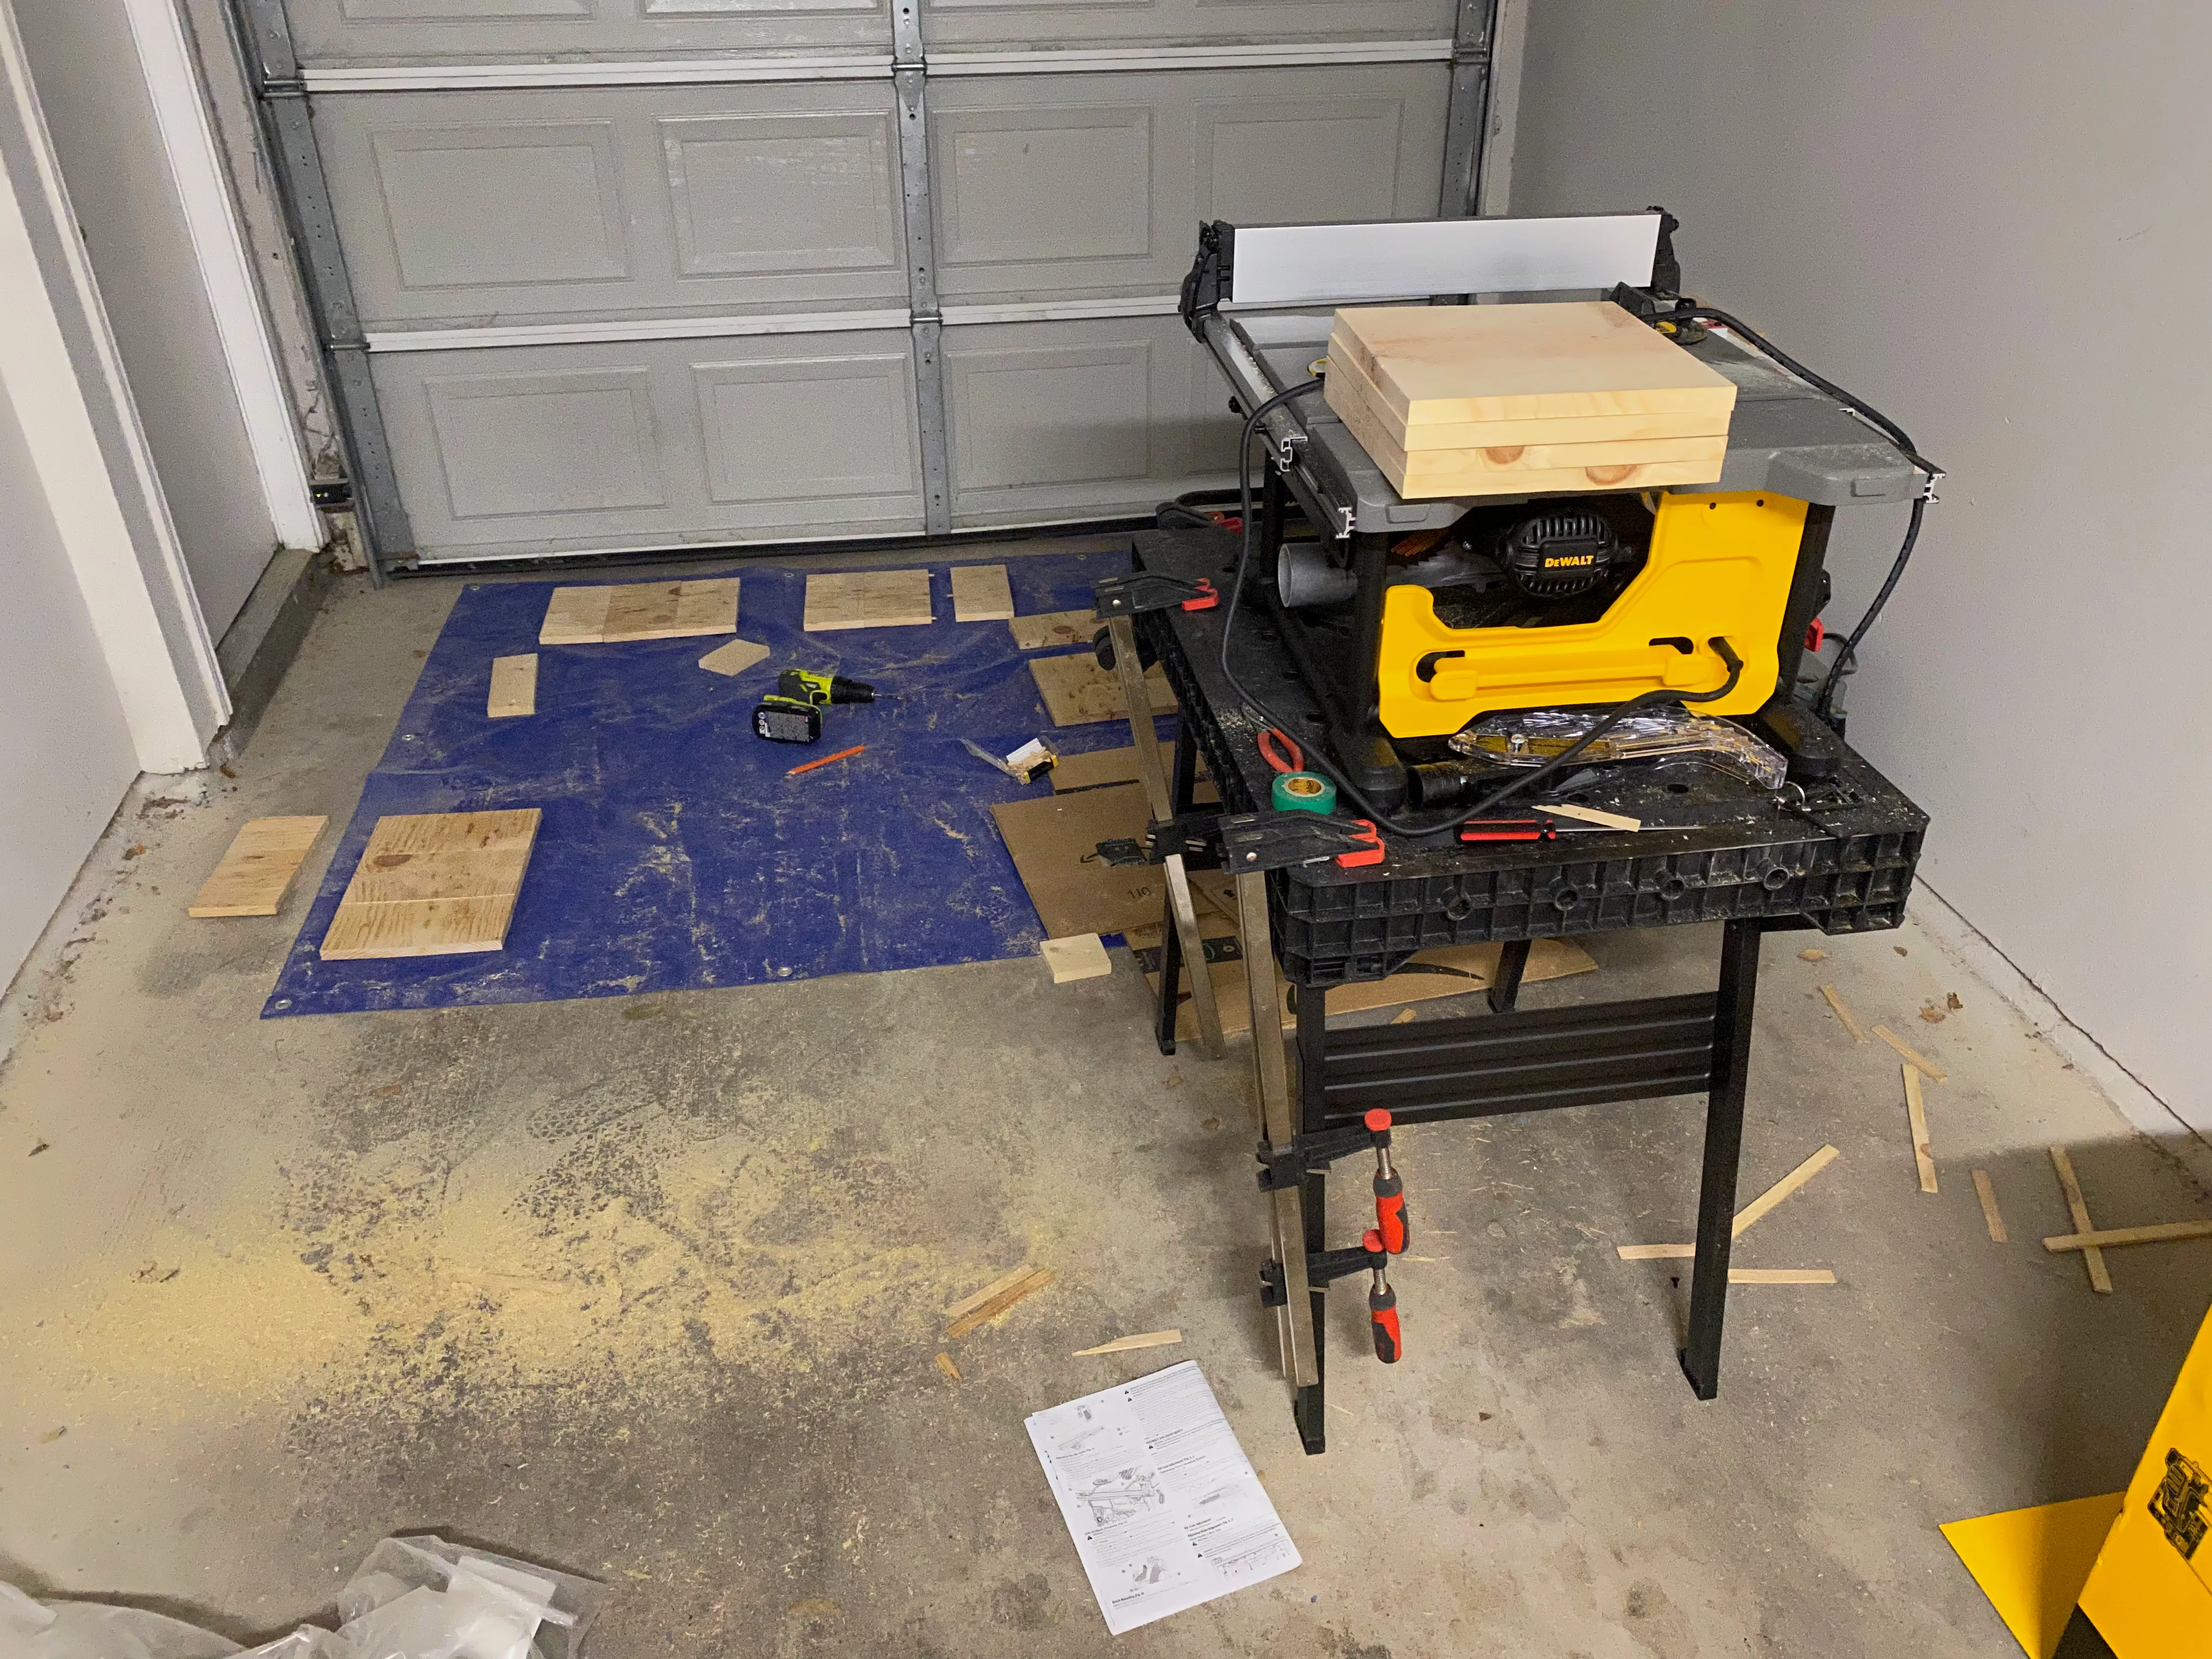
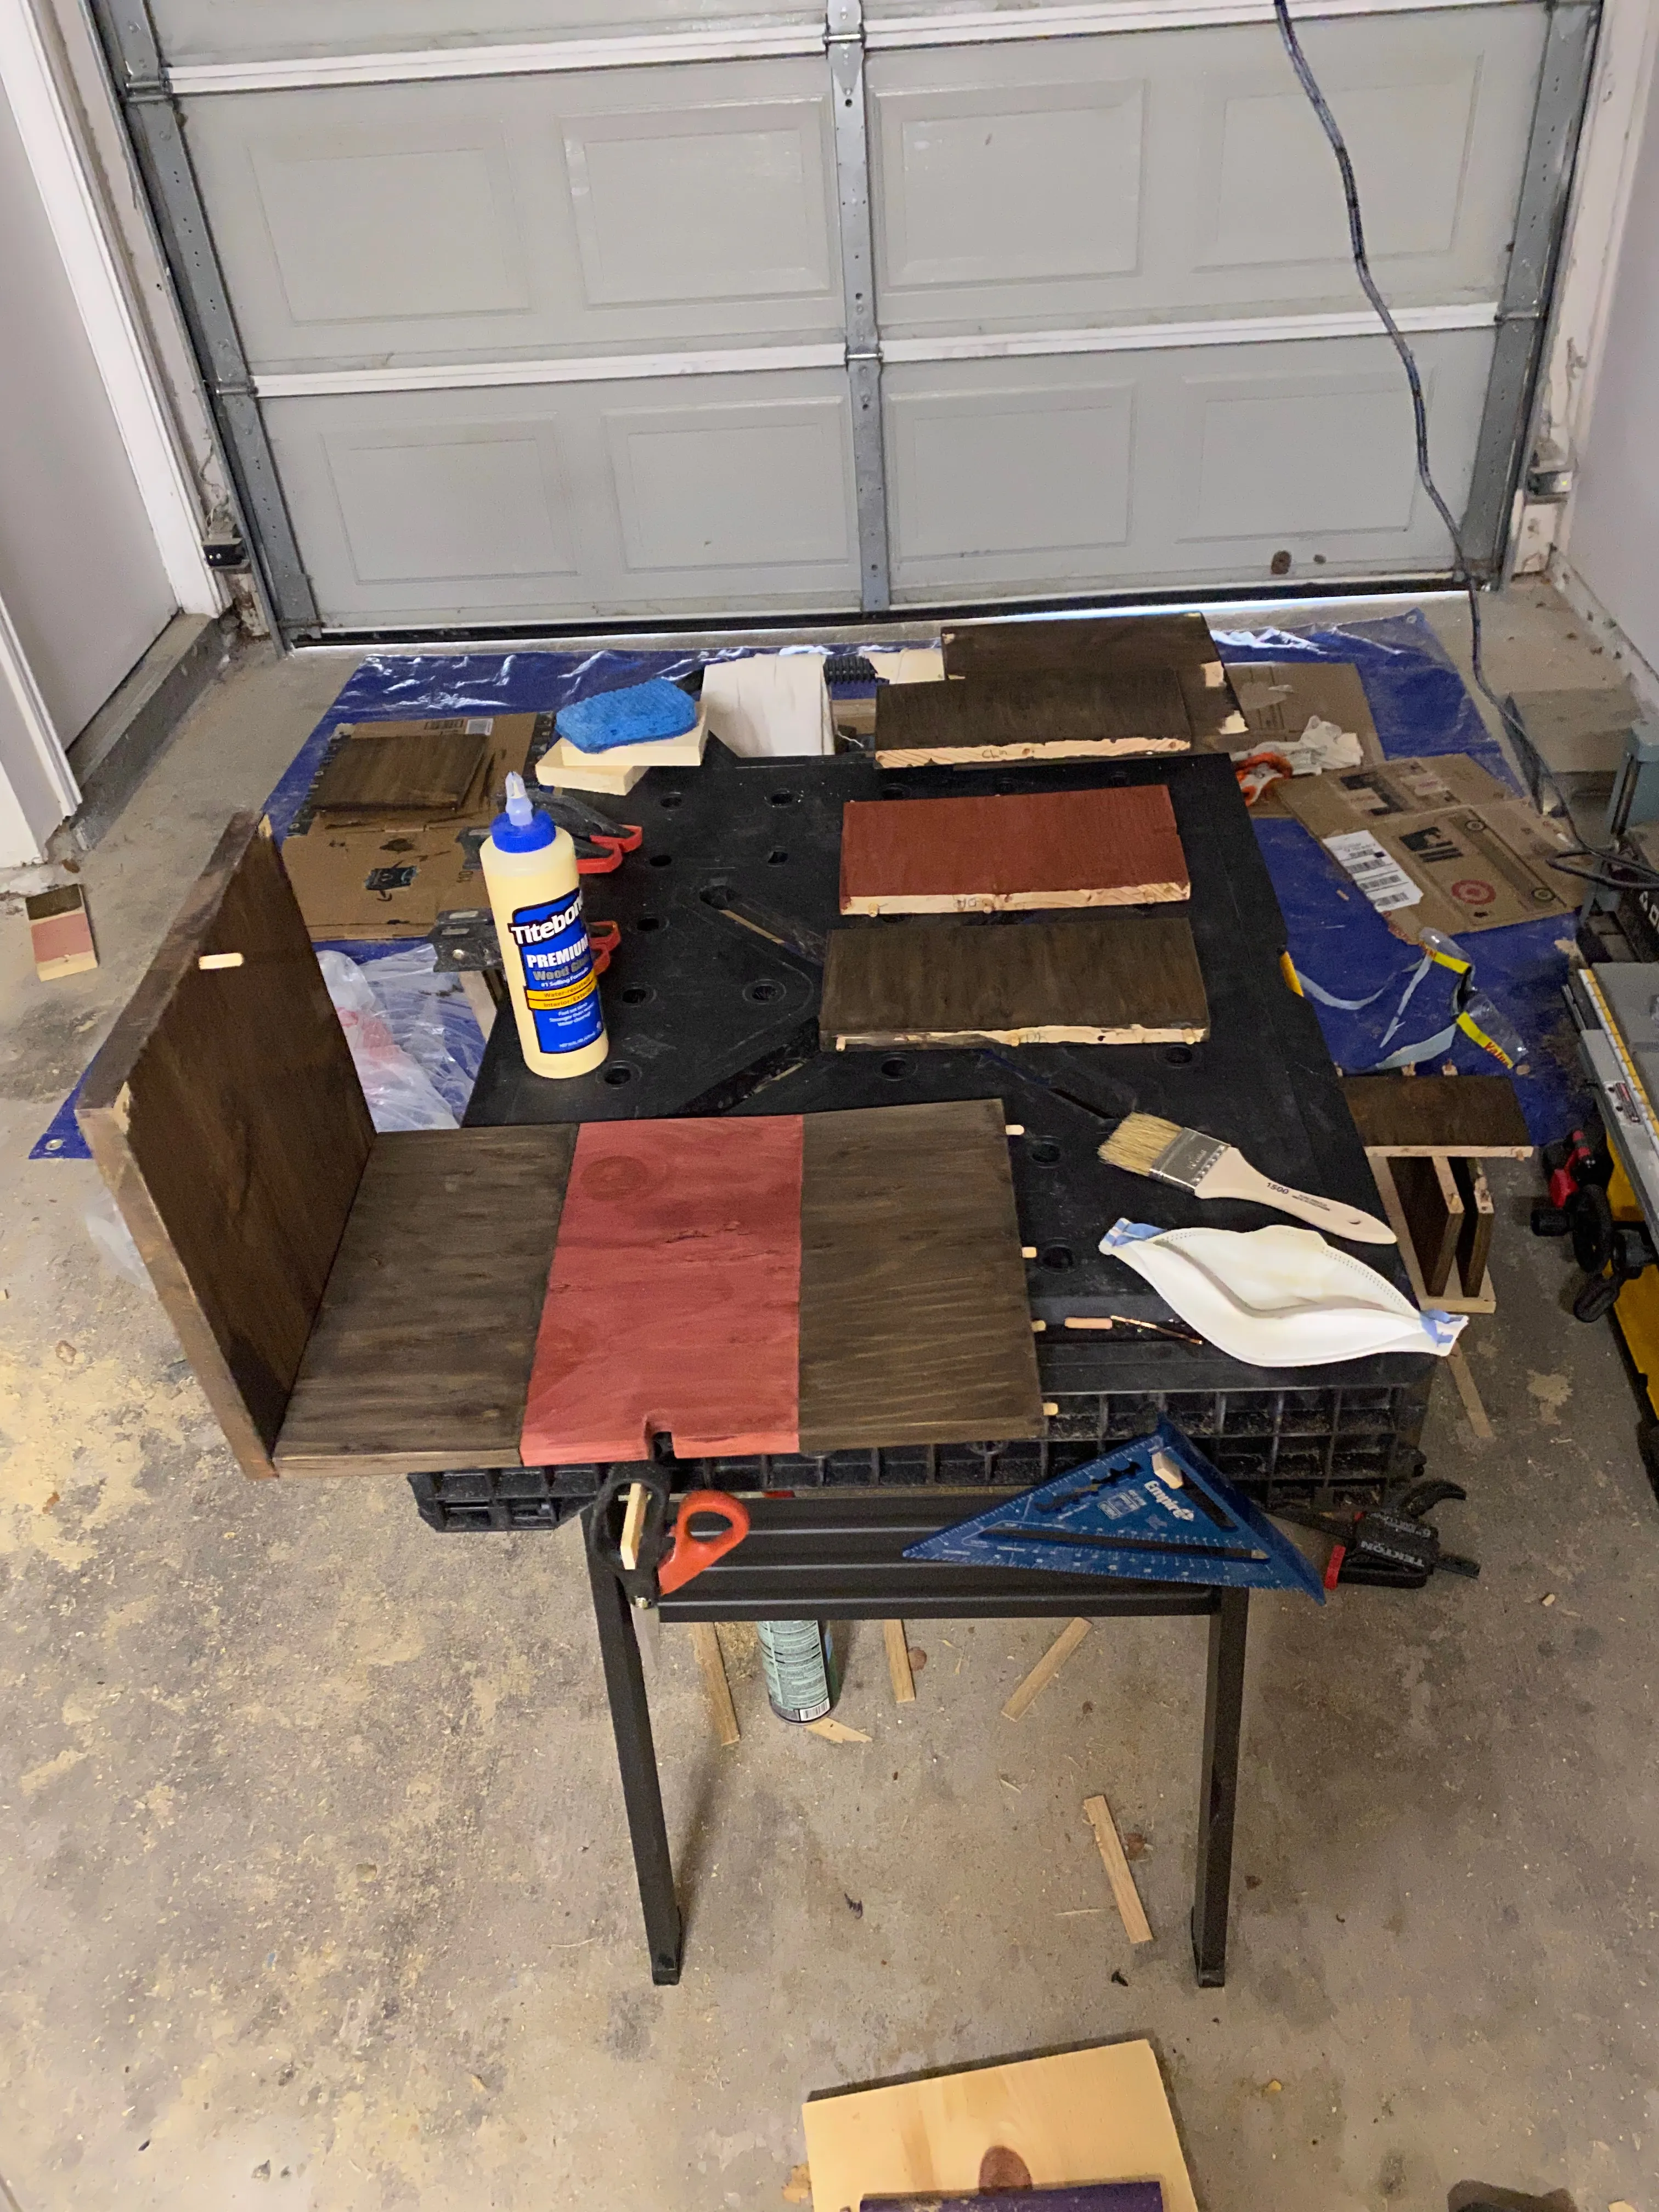
For the shape, I decided I wanted a simple open box that would be mostly dark brown with an accent color. At the time, I thought that using a single piece as opposed to staining 3 separately might cause some bleed, or potentially some unevenness on the surface, but in hindsight I believe the stain would have permeated deep enough that I could sand lightly… at any rate I cut out 3 pieces per top and bottom of each end table.
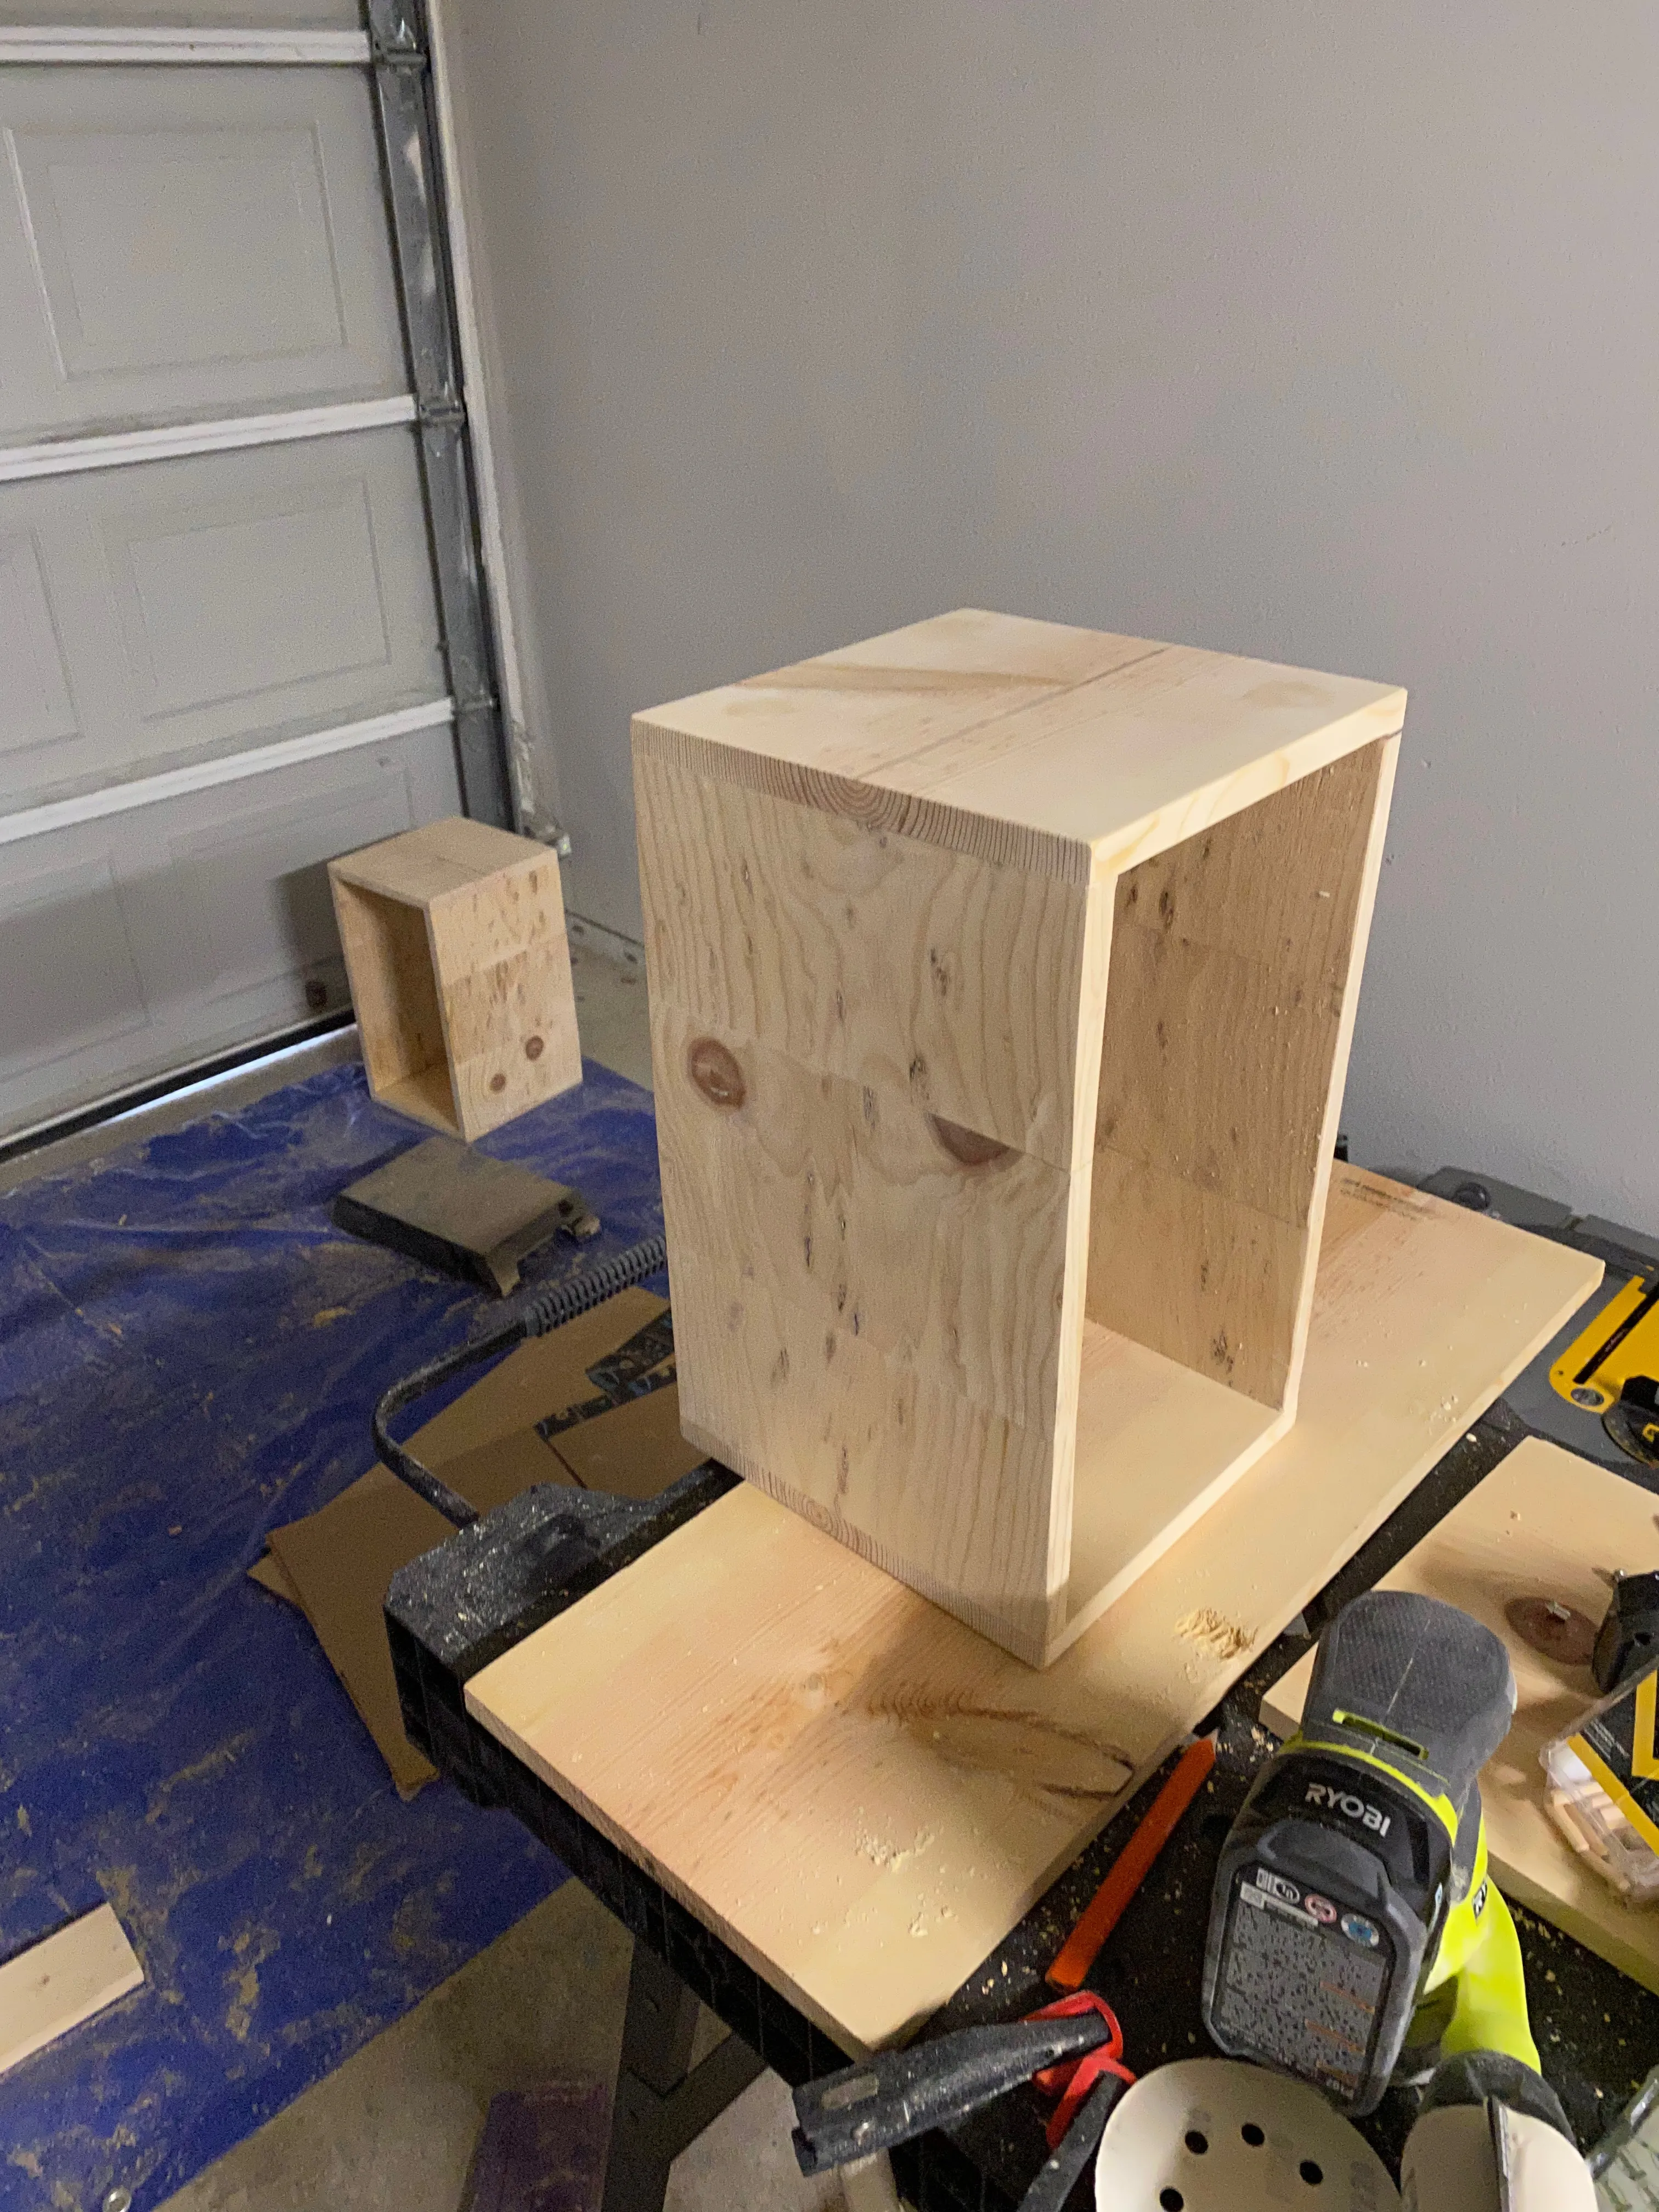
The gameplan involved assembling the 3-piece edges, sanding them flush using dowels to hold them in place, separate them for staining, and reassemble. Above is the first assembly after sanding and I was pleased!
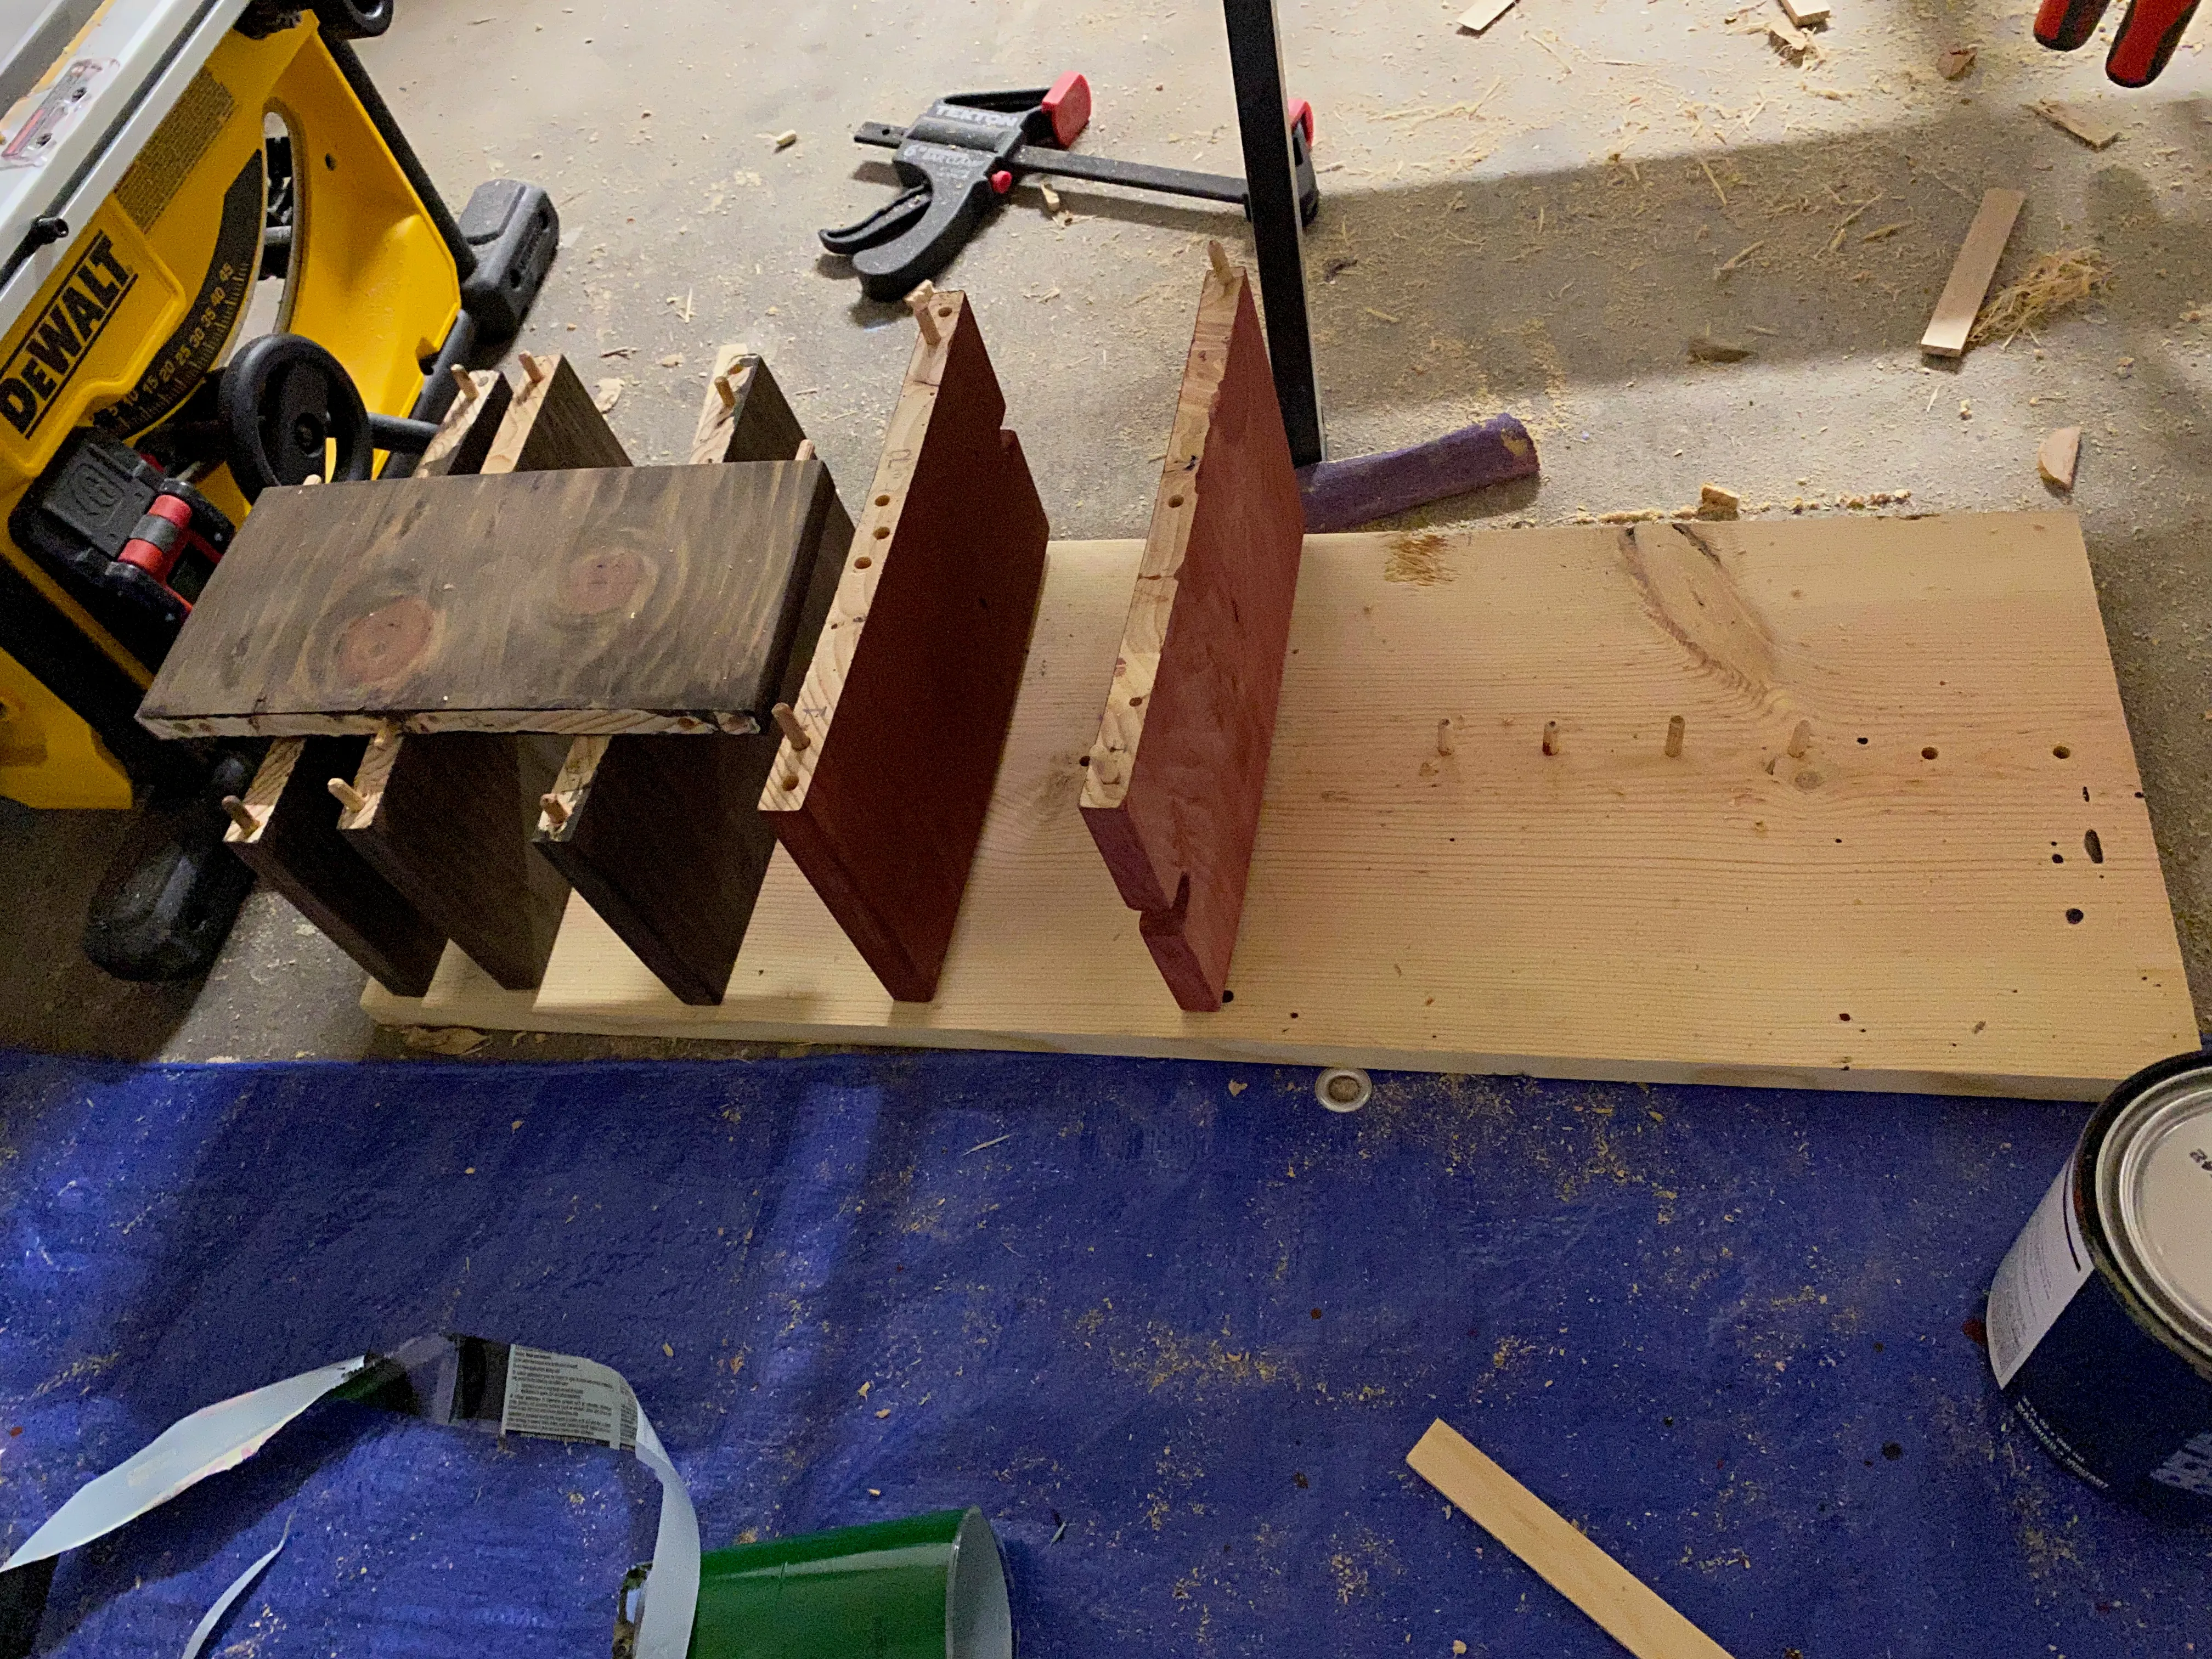
I put together a drying rack that used the assembly dowel holes to hold the cuts up while their stain dried (the one on top having mostly dried).
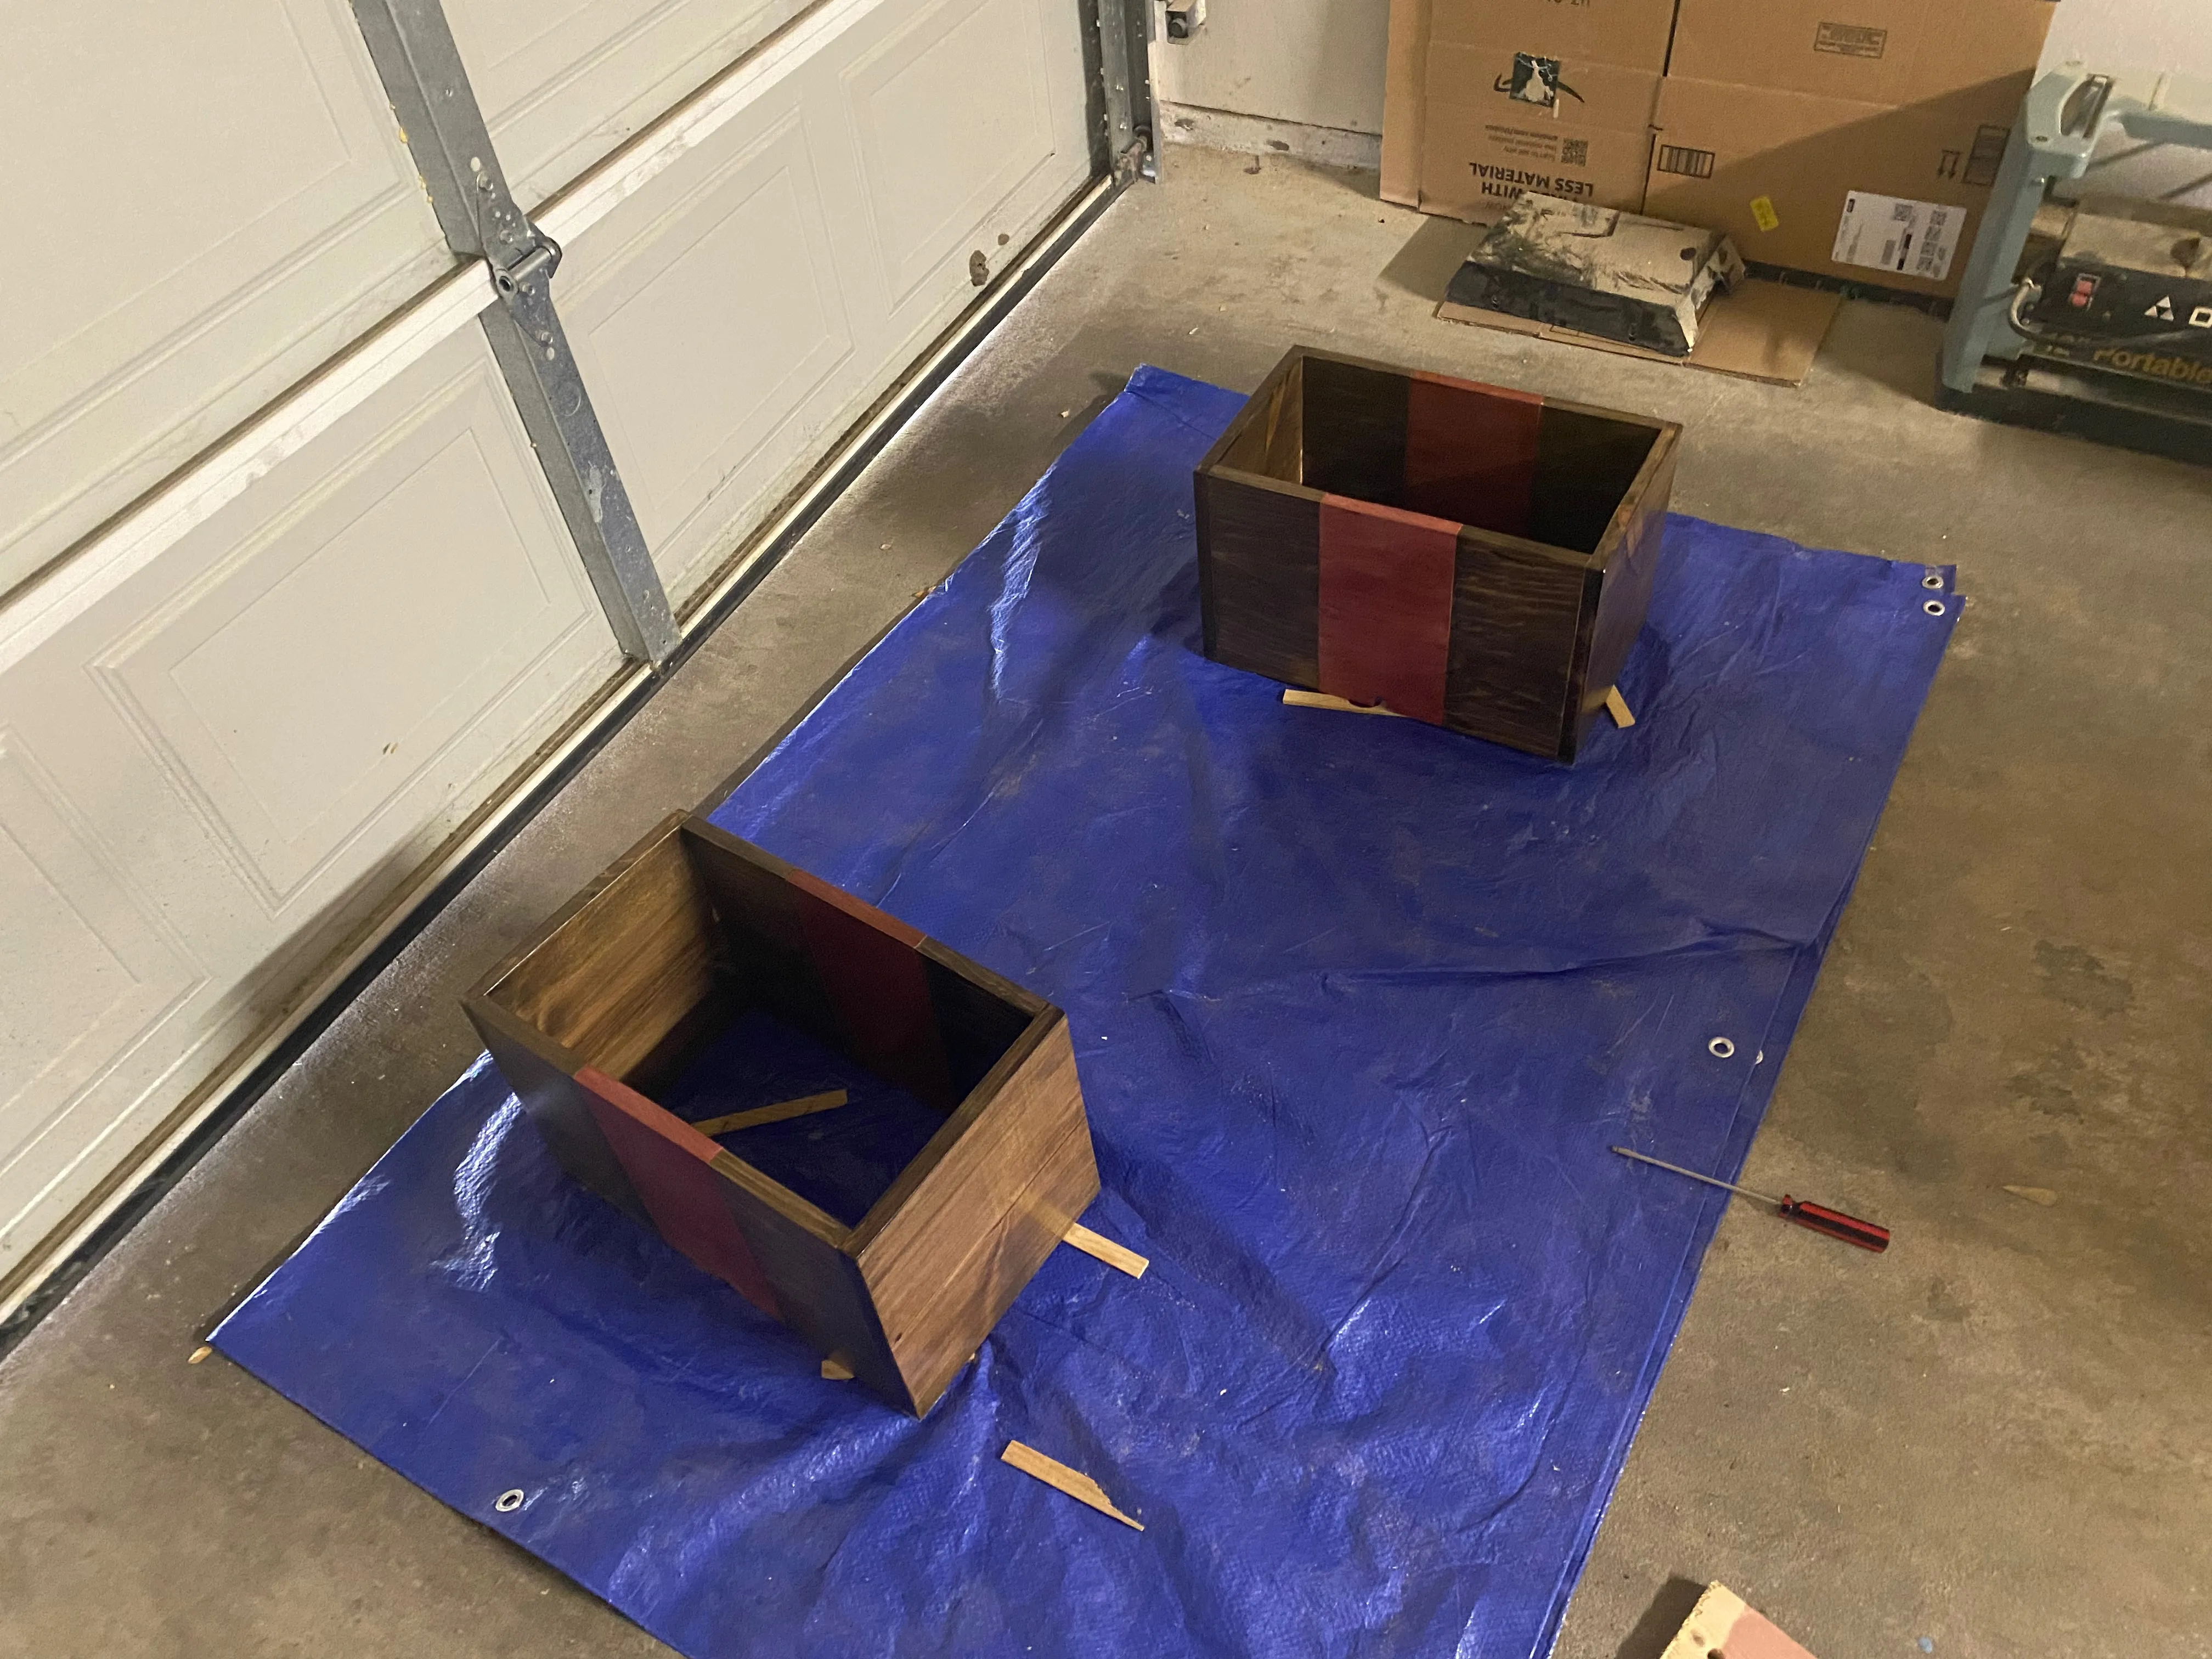
Here’s a view of the assembly check post-staining, where you can see the notch I added for running cables through the end table.

There can always be more clamps for glue-up but 4 worked!
For the final finish I believe I used Danish Oil, there was so much anticipation at this point I just wanted to throw them on the wall wet (but withheld).

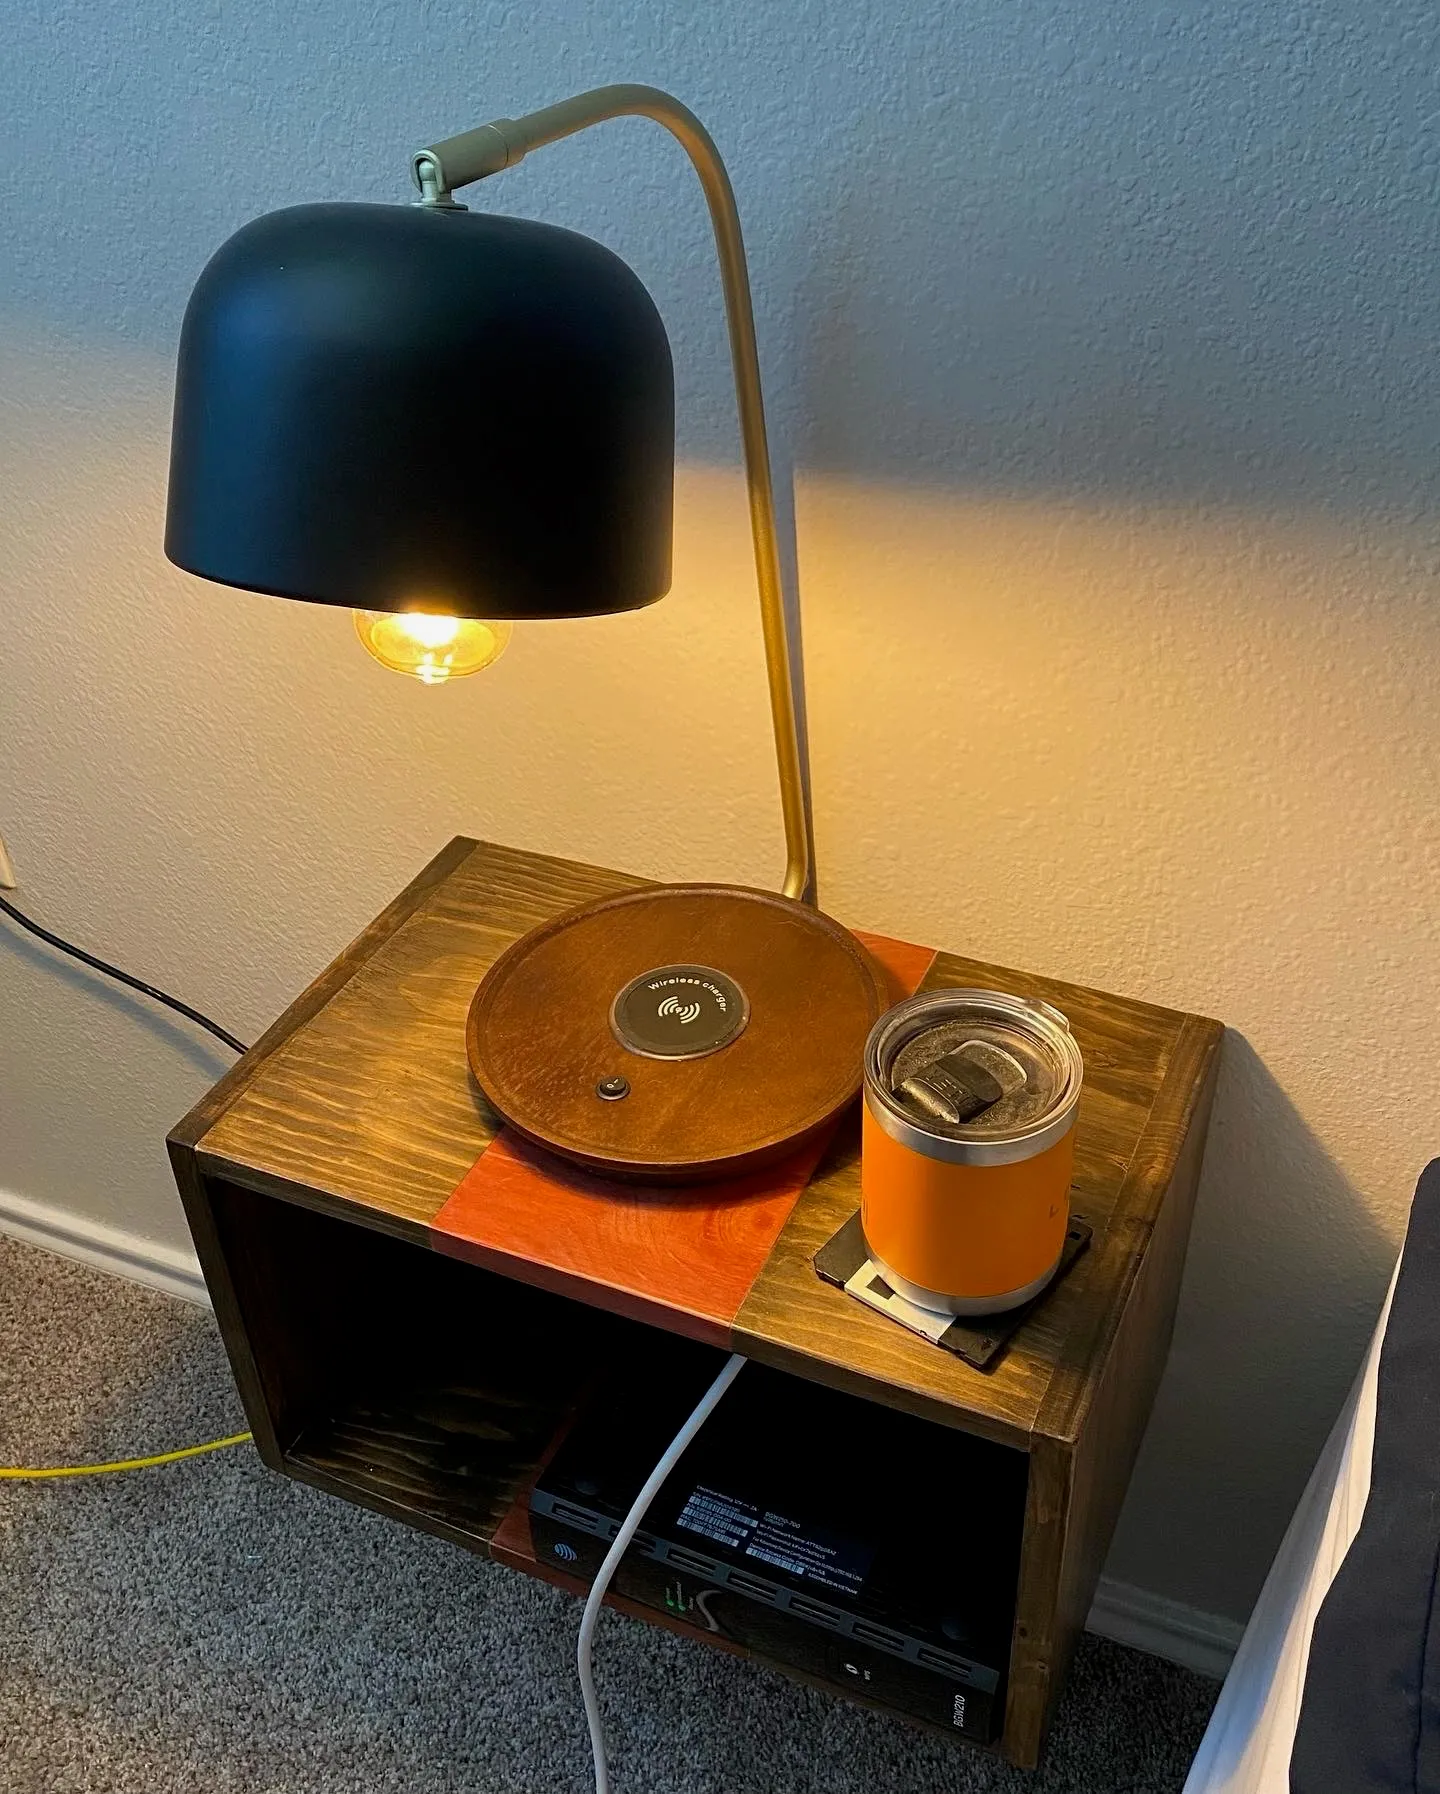
Finally, here is how they looked next to my bed!