Car Audio Upgrade
I love my car Warren; he’s fuel efficient, small enough to fit into most any parking spot but flexible enough to hold a good amount of stuff, and he was cheap. The downside of cheap though is that the stock audio wasn’t great, and I love music in the car any day but especially when I go on roadtrips. When I was coming up on a drive from Texas to Oregon by way of California, I figured it was time to address both the audio components of the car and the road noise (Warren didn’t come with any sound dampening rubber on his frame).
I had to learn a lot about car interiors for this project, as well as diving into the world of after-market stereos and bass - I would say I spent at least as much time doing research as I did working on the car itself. I was so pleased with how everything turned out though! Unfortunately the amp and subwoofer were stolen a few months later but for that roadtrip I was thriving :) Plus they can’t steal what I learned!
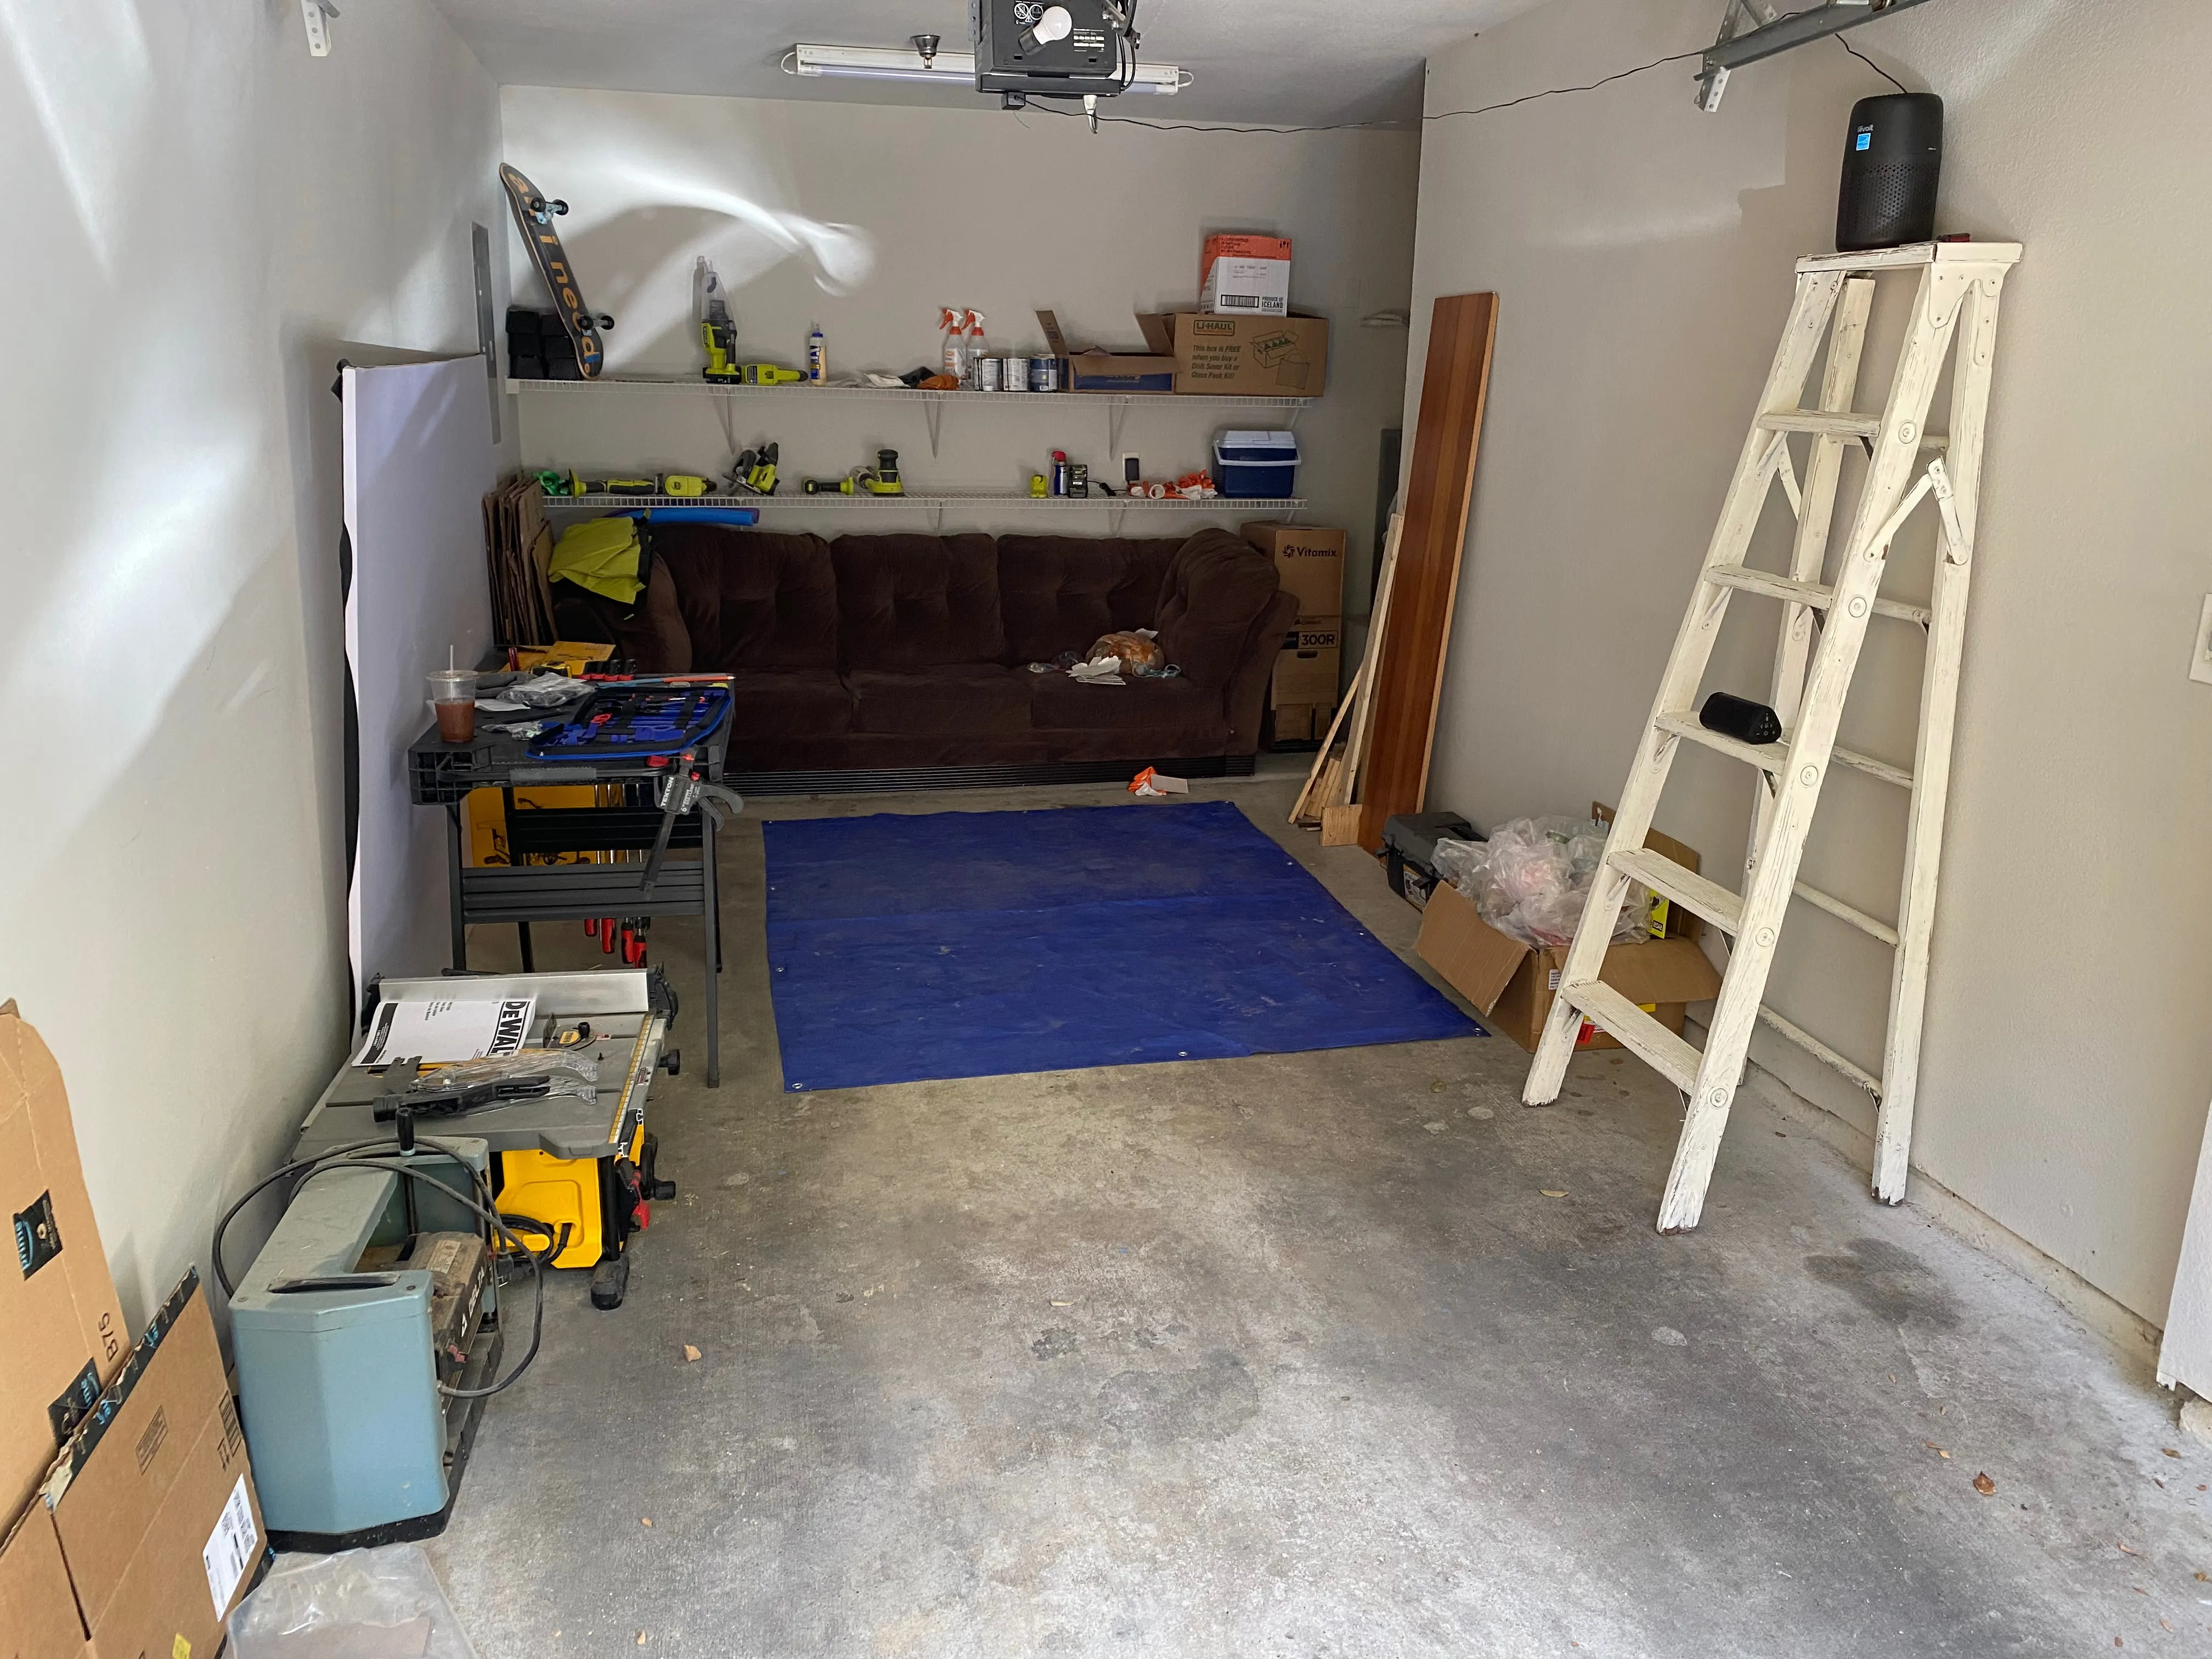
My garage at the time, it would not be clean again for couple of weeks.
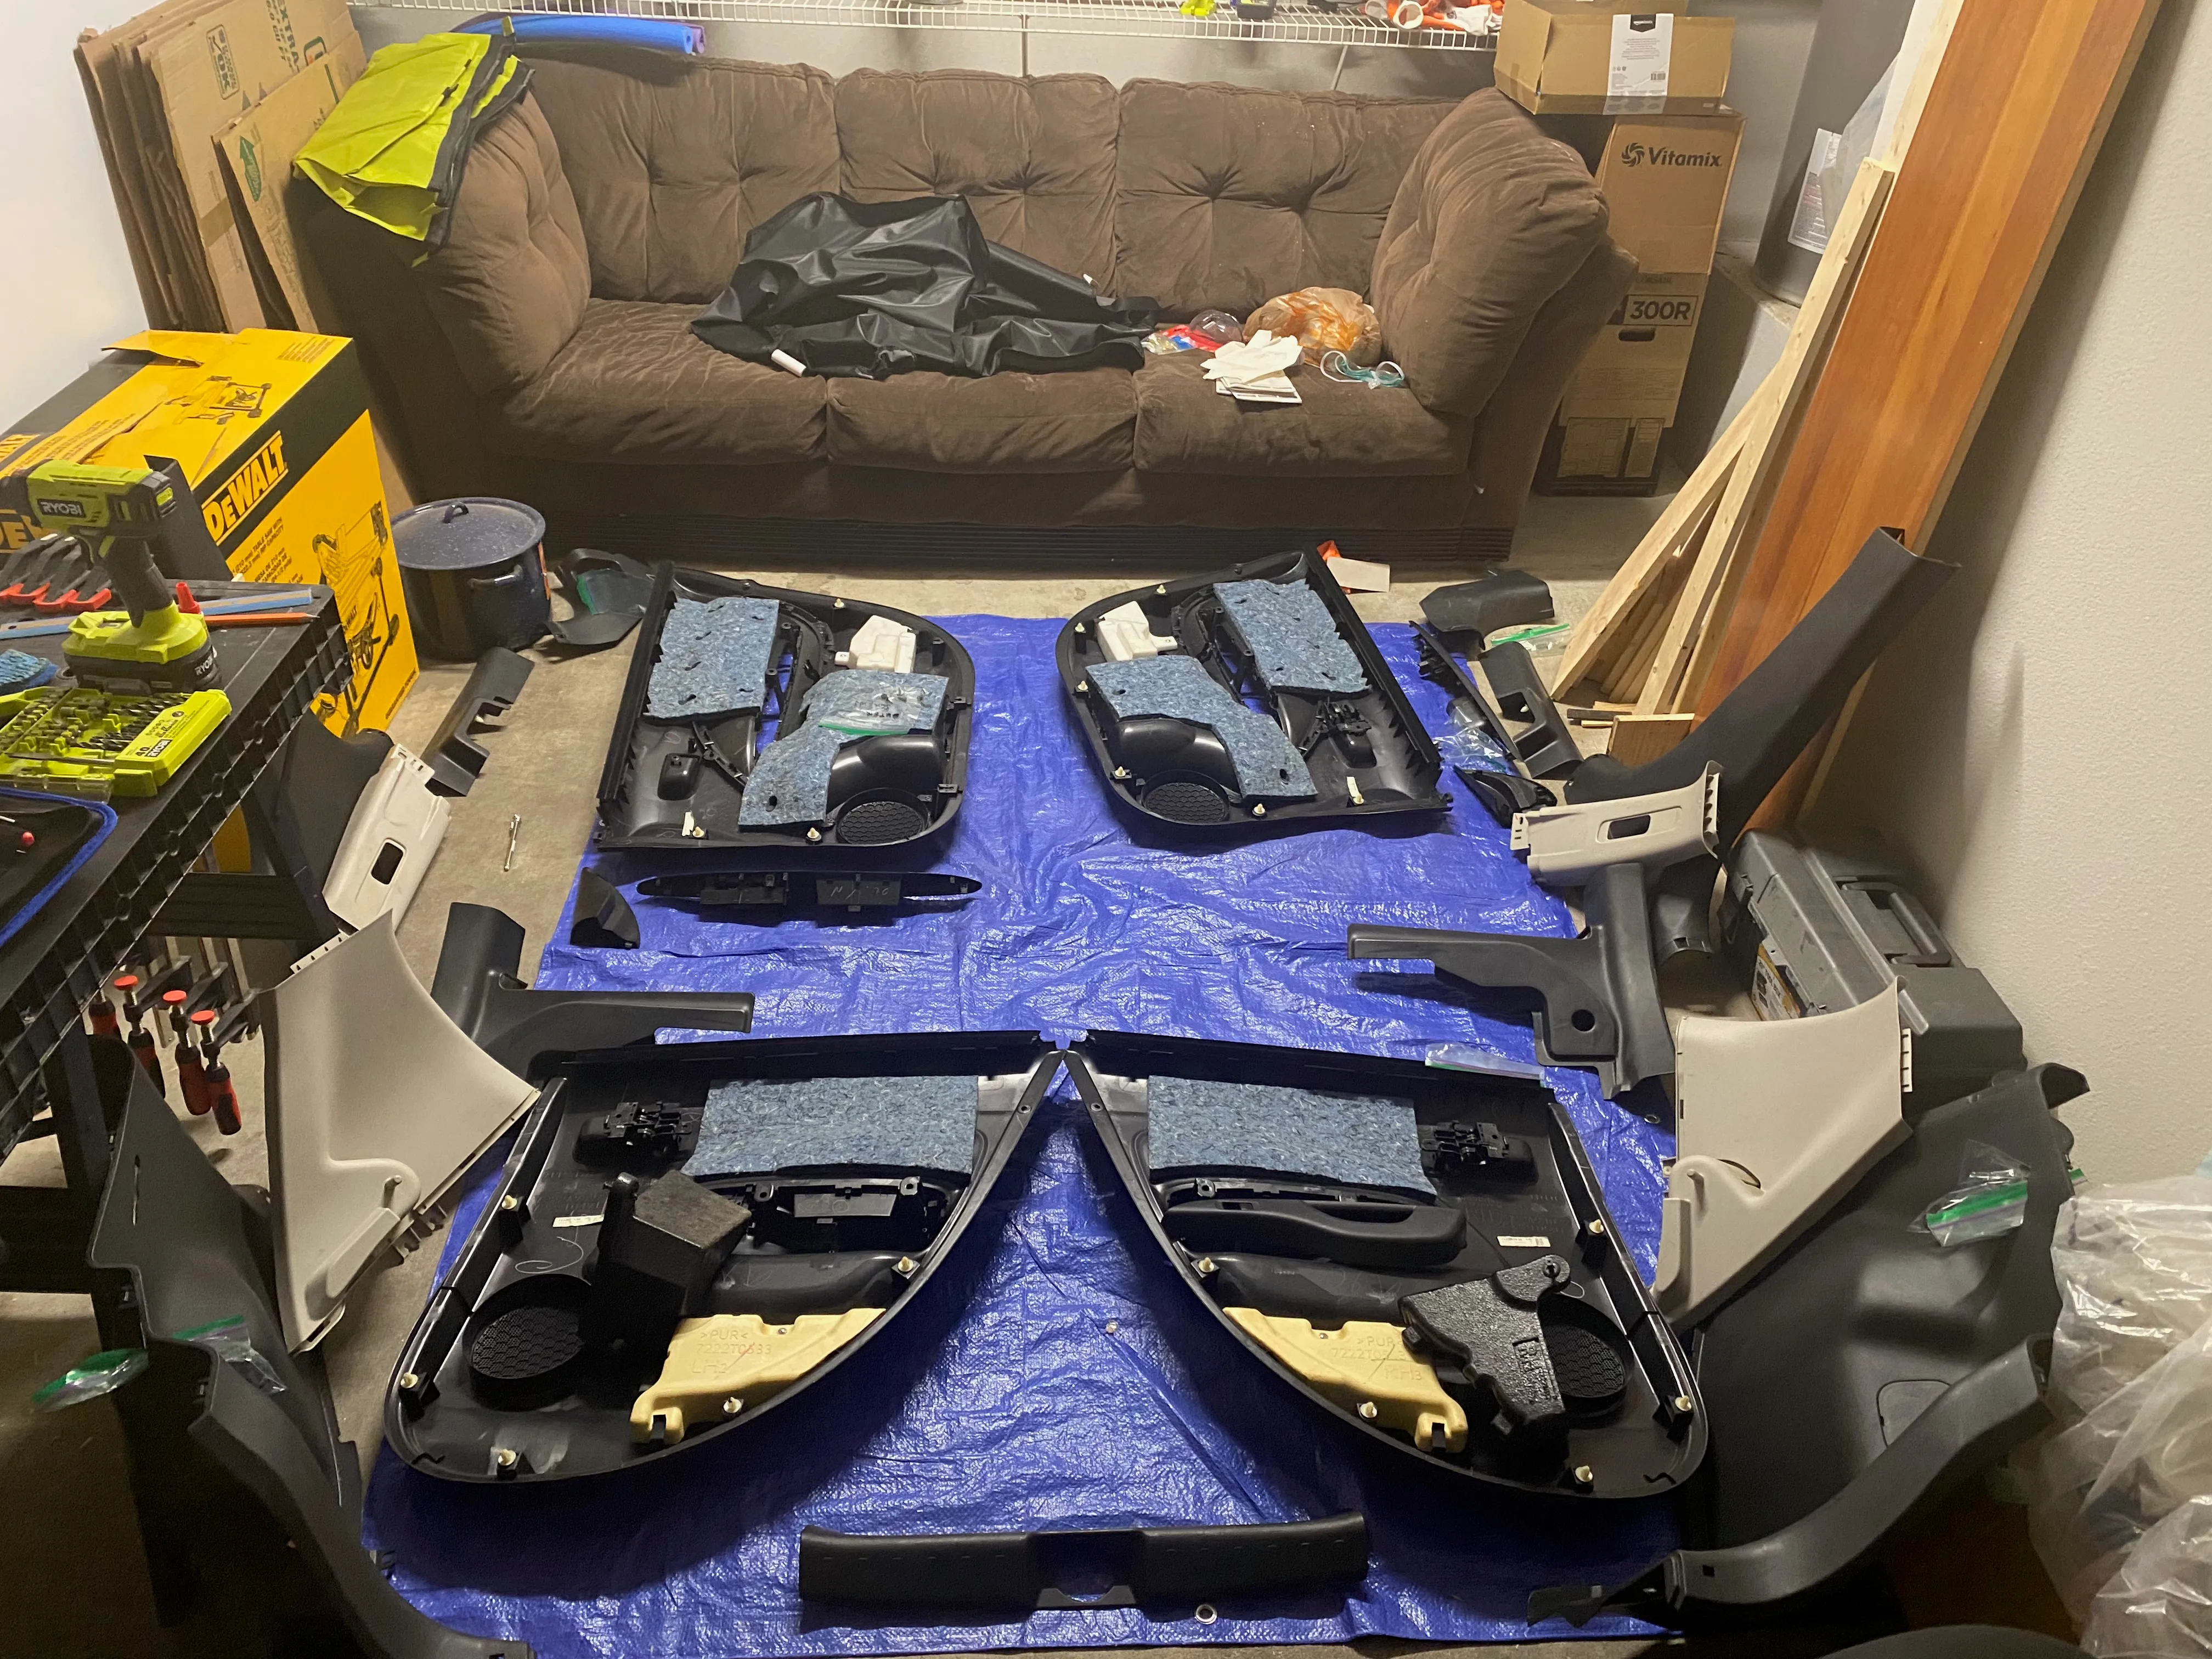
Beginning the process of stripping the interior out of the car to add sound dampening clear the way for wiring.
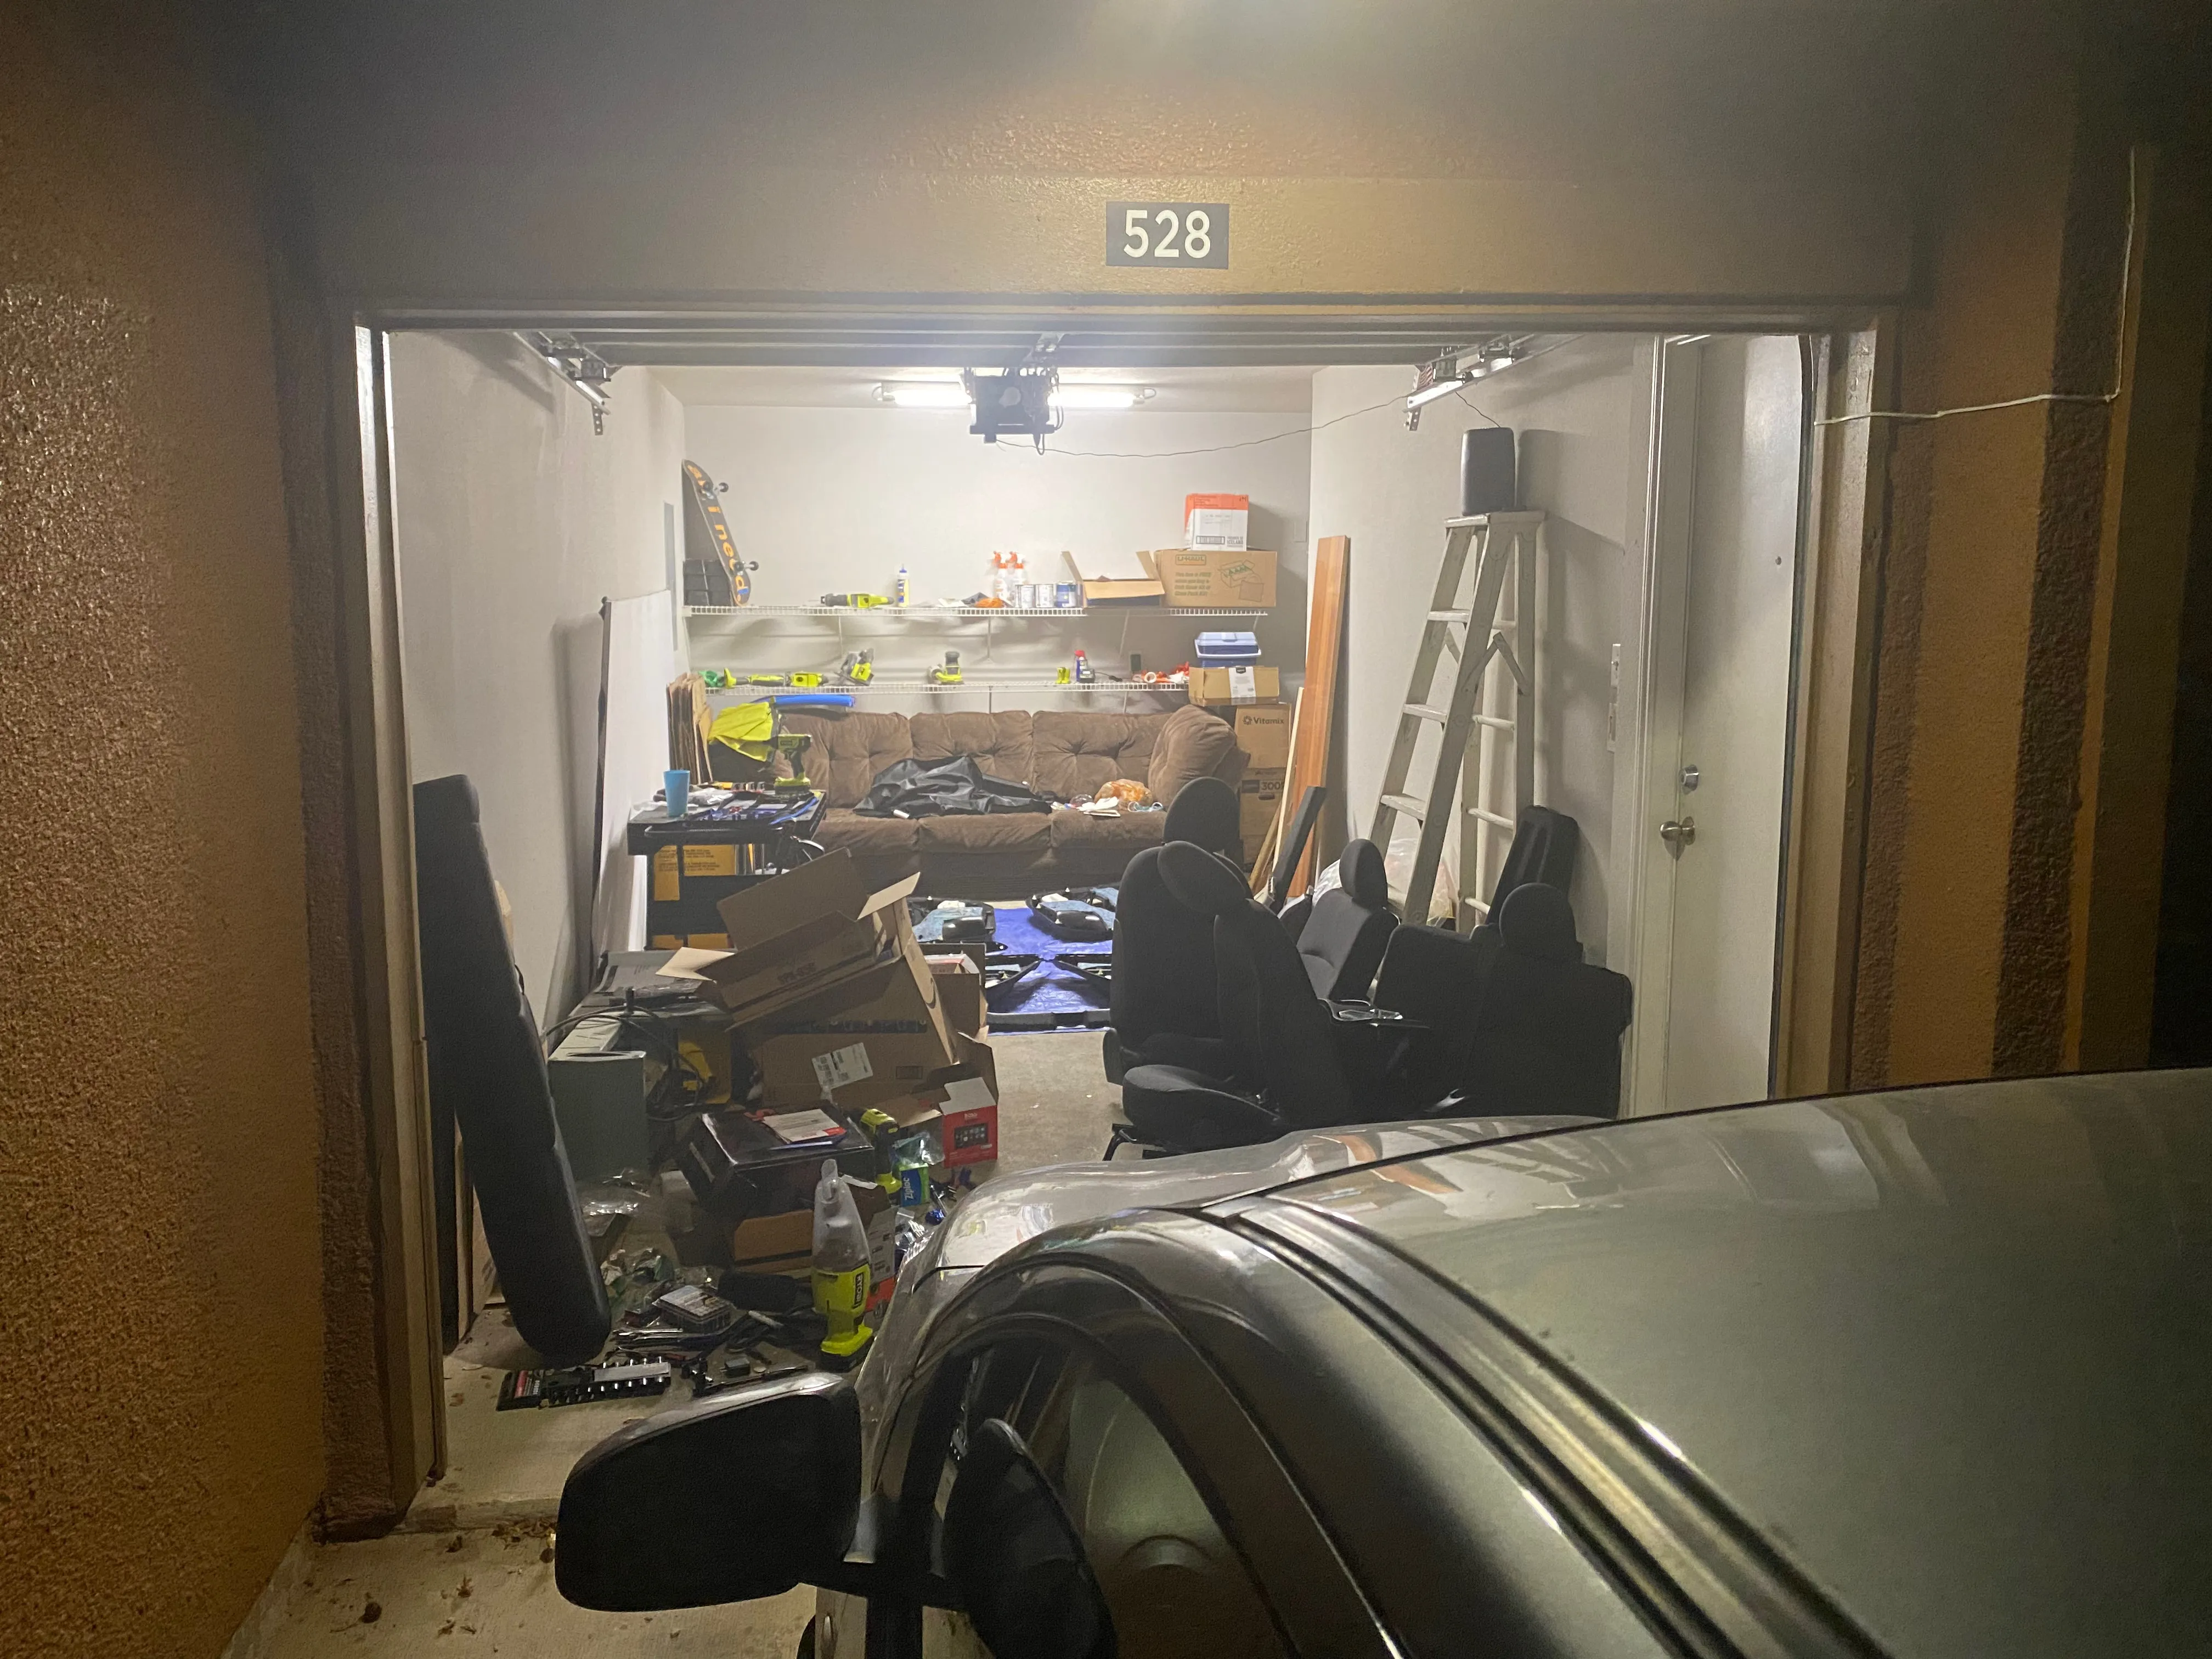
How the garage looked for a little too long… all clear in the car though!
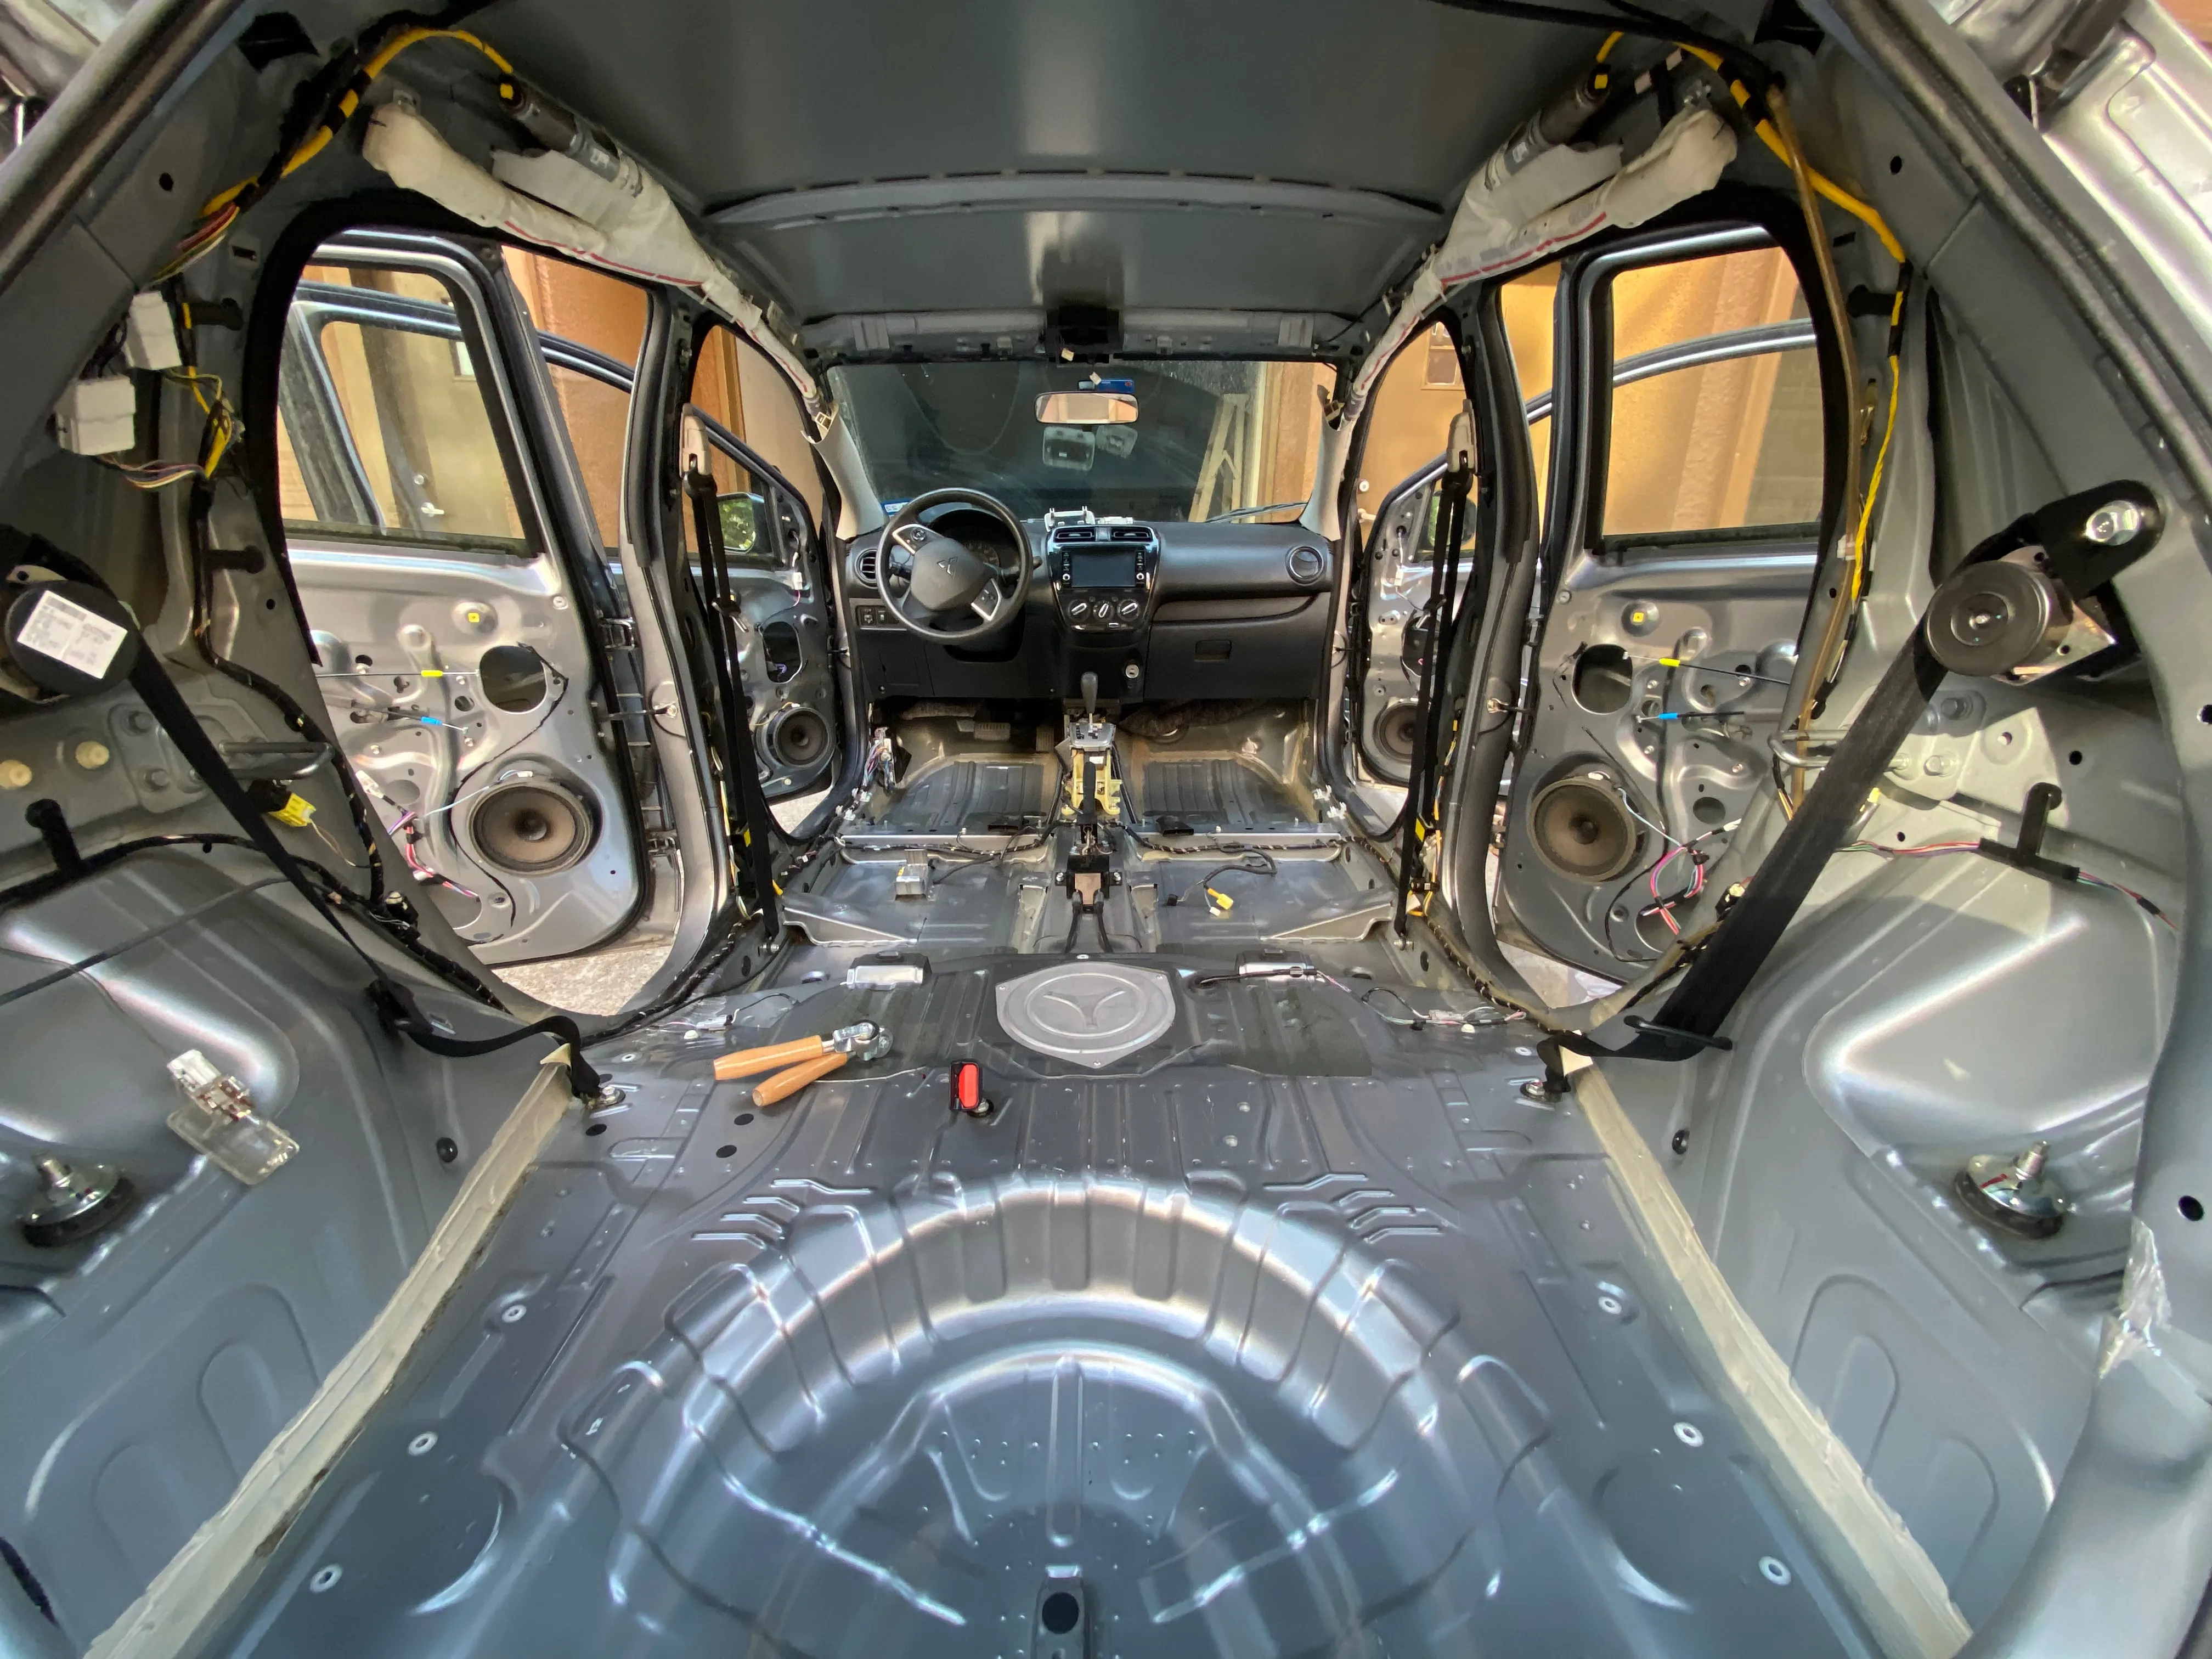
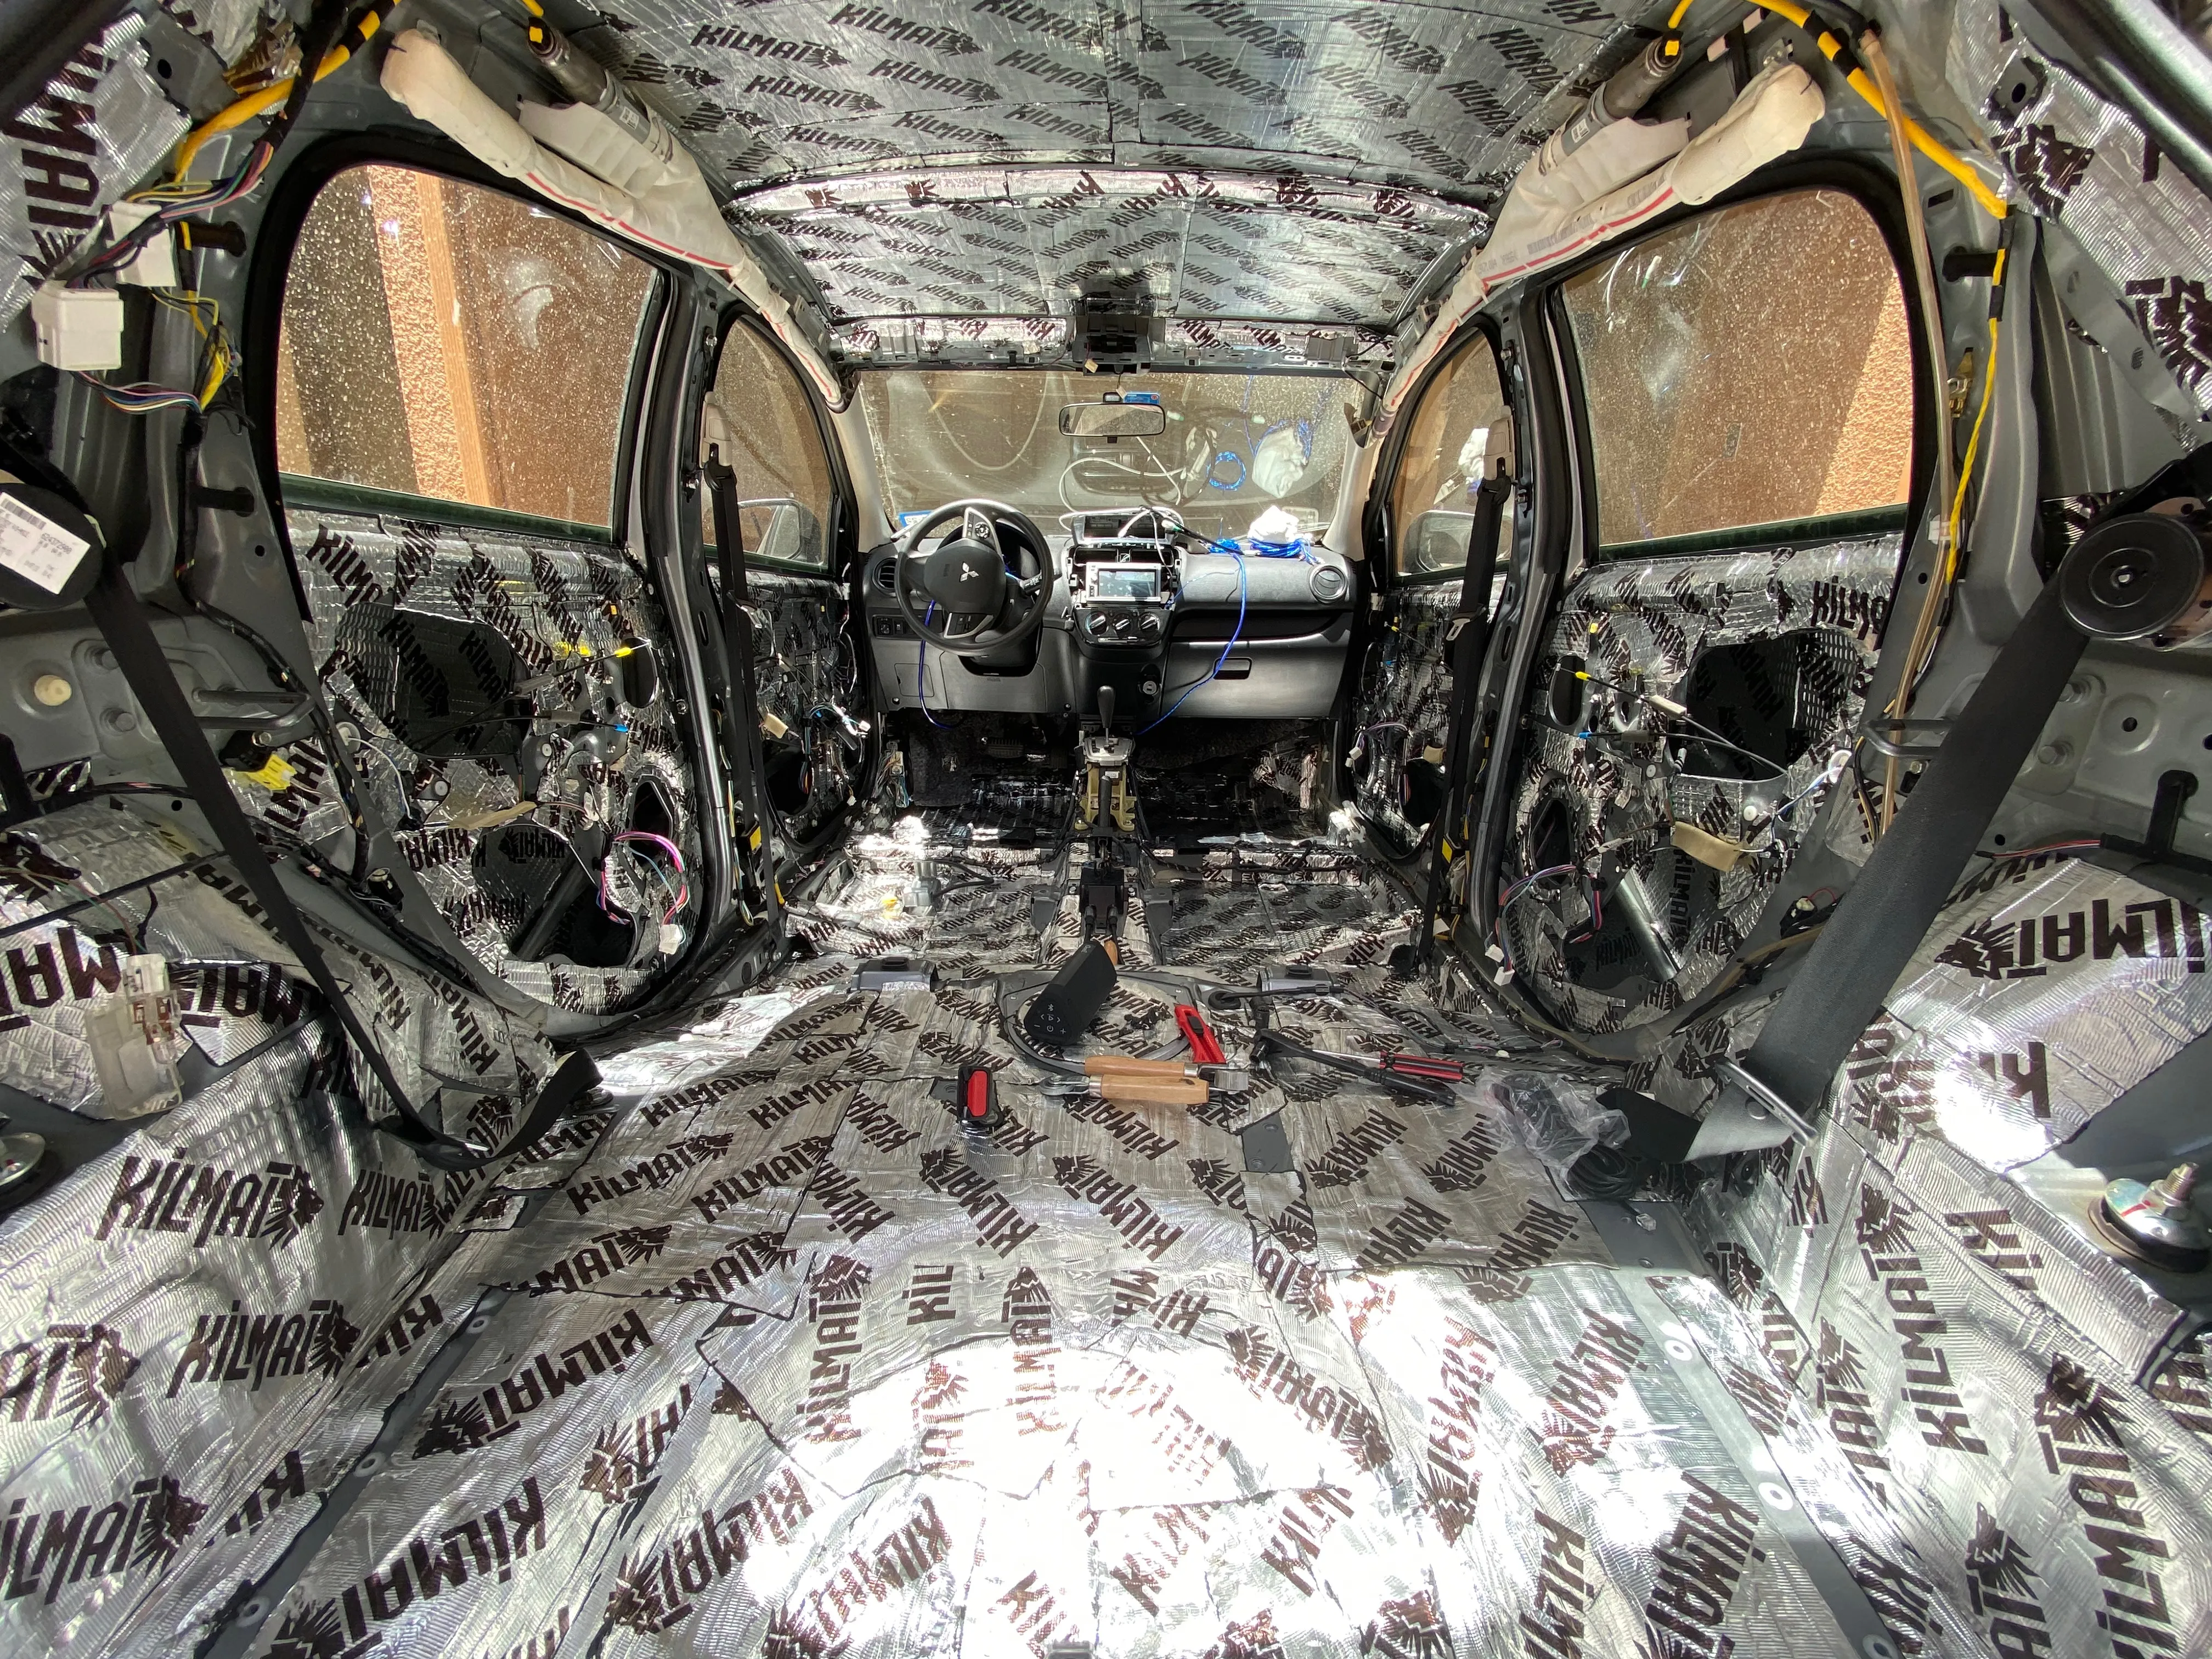
I had to clear out all the interior because I wanted to apply sound dampening rubber to as much of the metal frame as I could. The process is essentially cutting rubber to fit the various parts of the frame and using a roller to press it down.
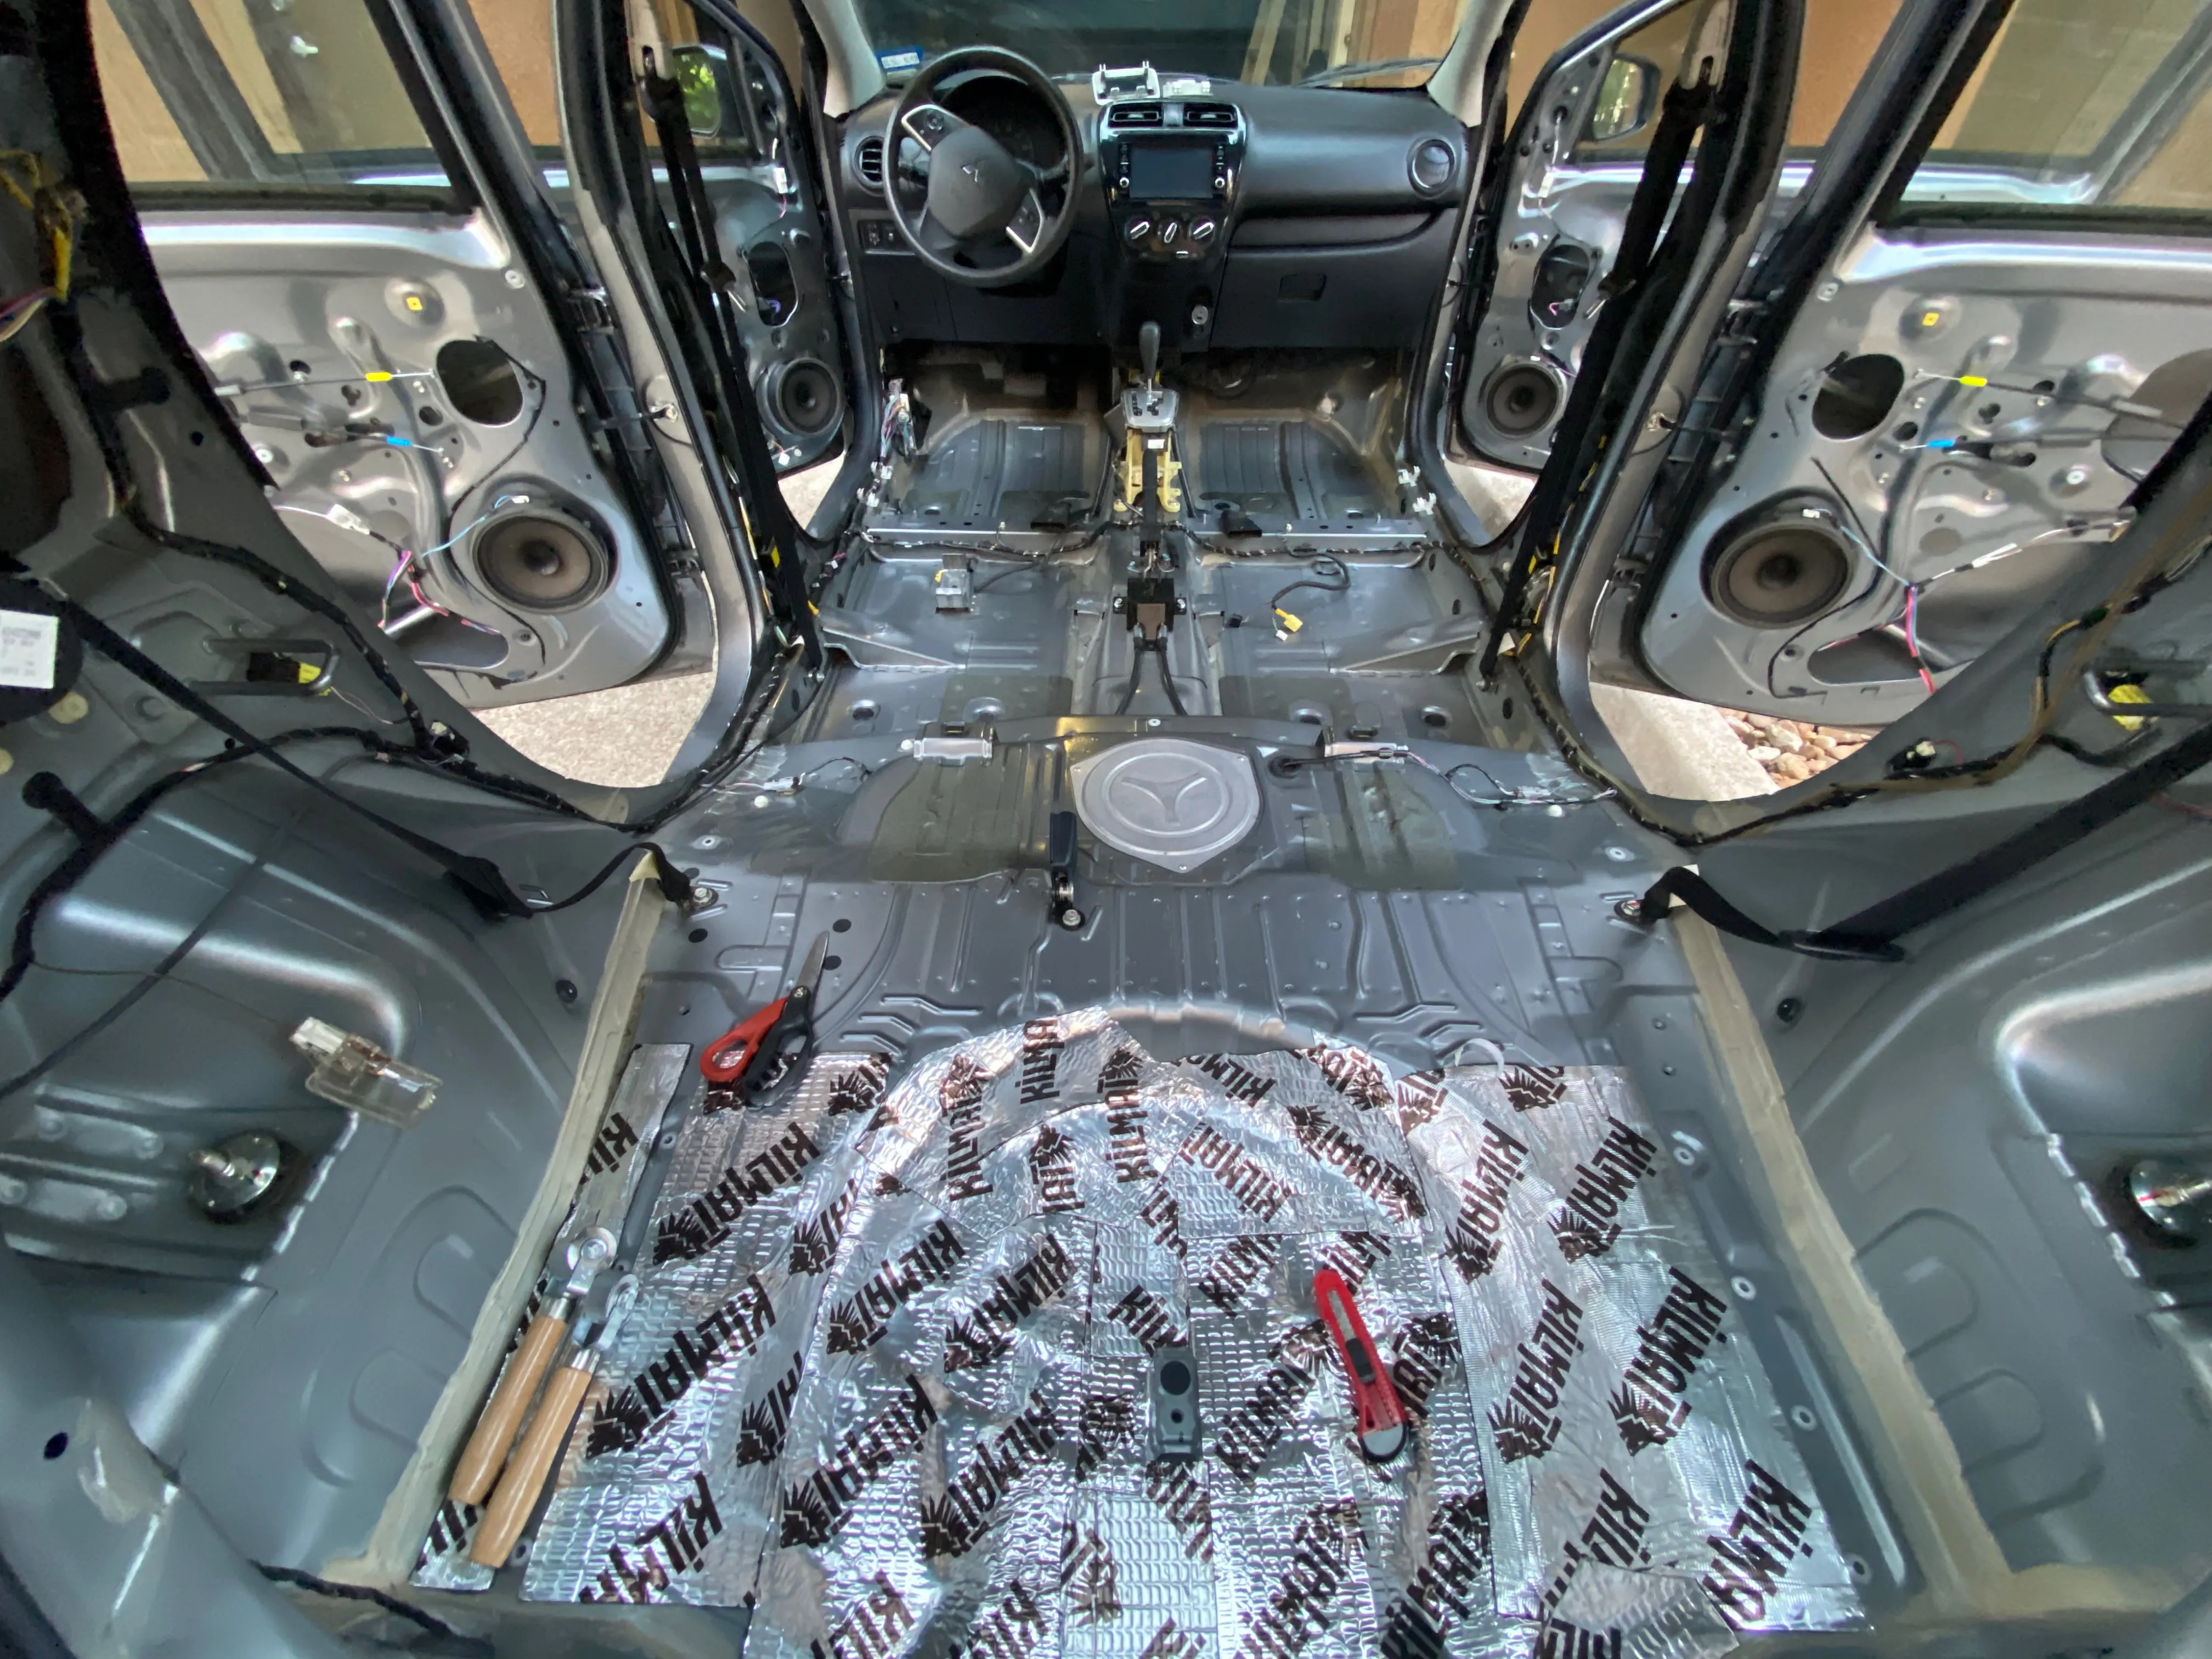
It was at this point that I admitted to myself that sound dampening was going to take a significant amount of time.
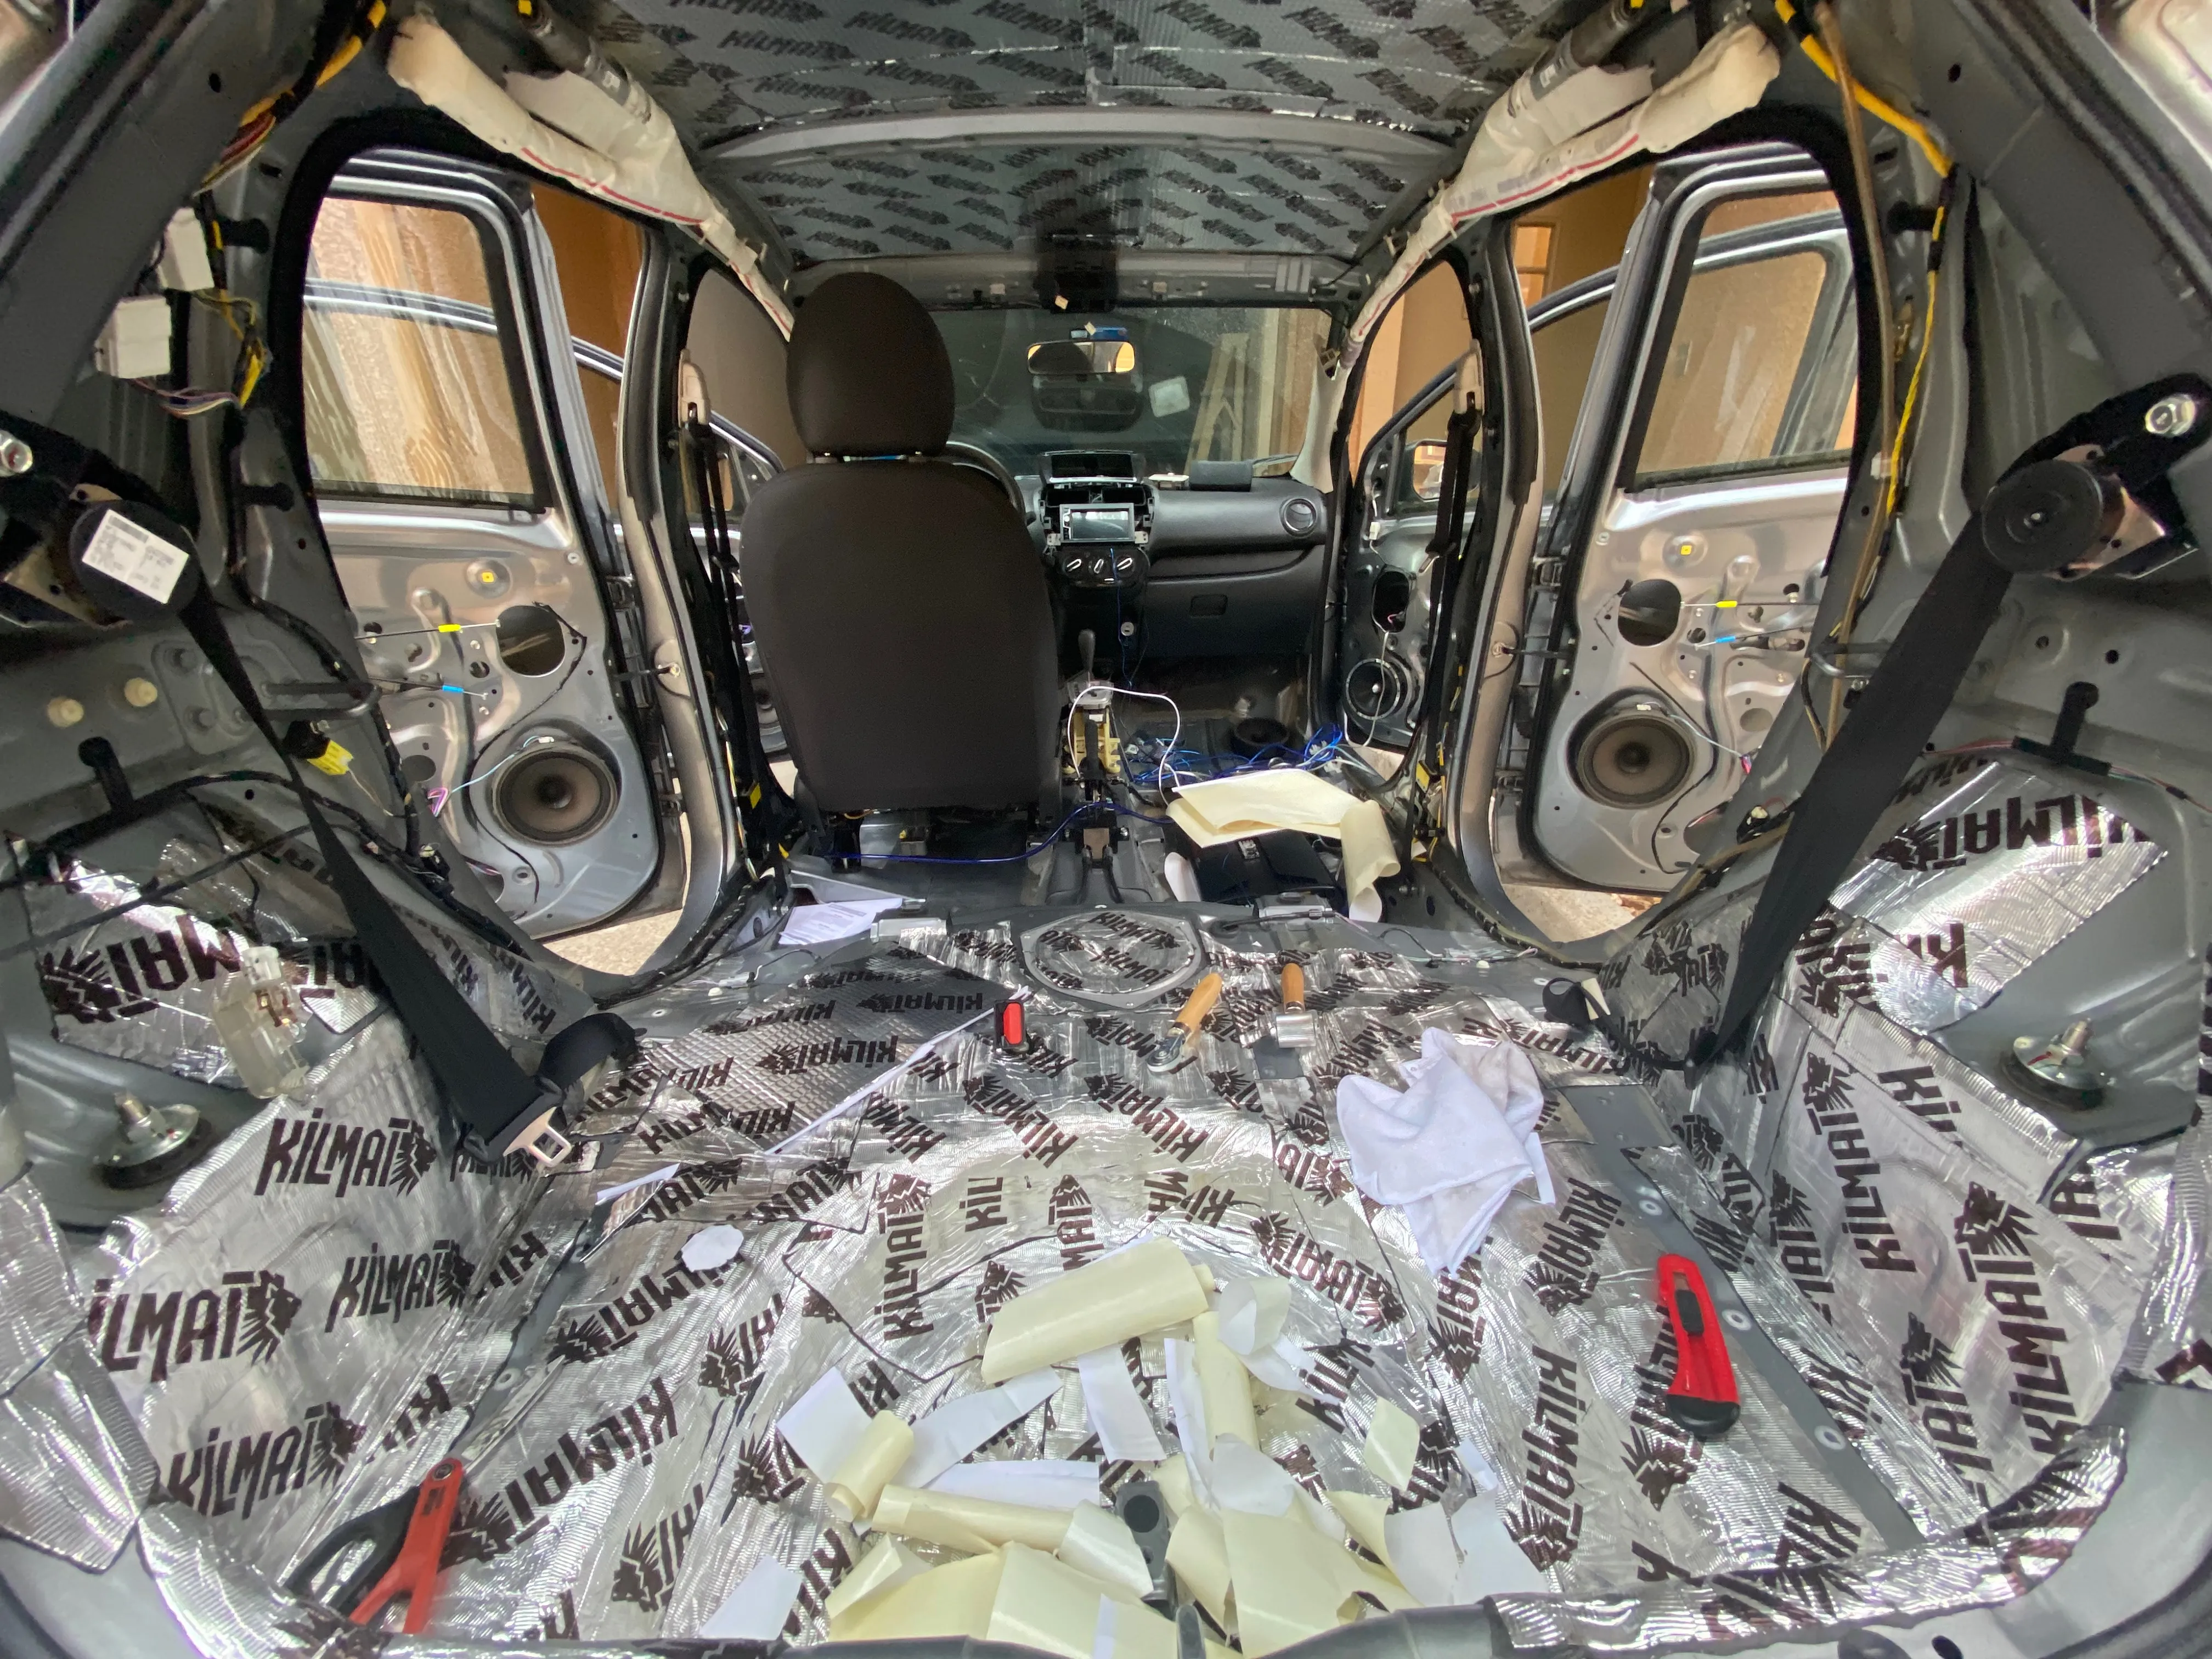
I was making good progress on the sound dampening, however since I was working evenings and weekends I was going slow enough to still need to use my car during the project. I got pretty quick at removing / replacing the driver seat to get around.

Fully dampened! I had started some of the wiring as well here. Threading the thick power wire through the firewall to reach the battery was tricky, but getting speaker wires through the little rubber tunnel at the hinge of each door was much more annoying.
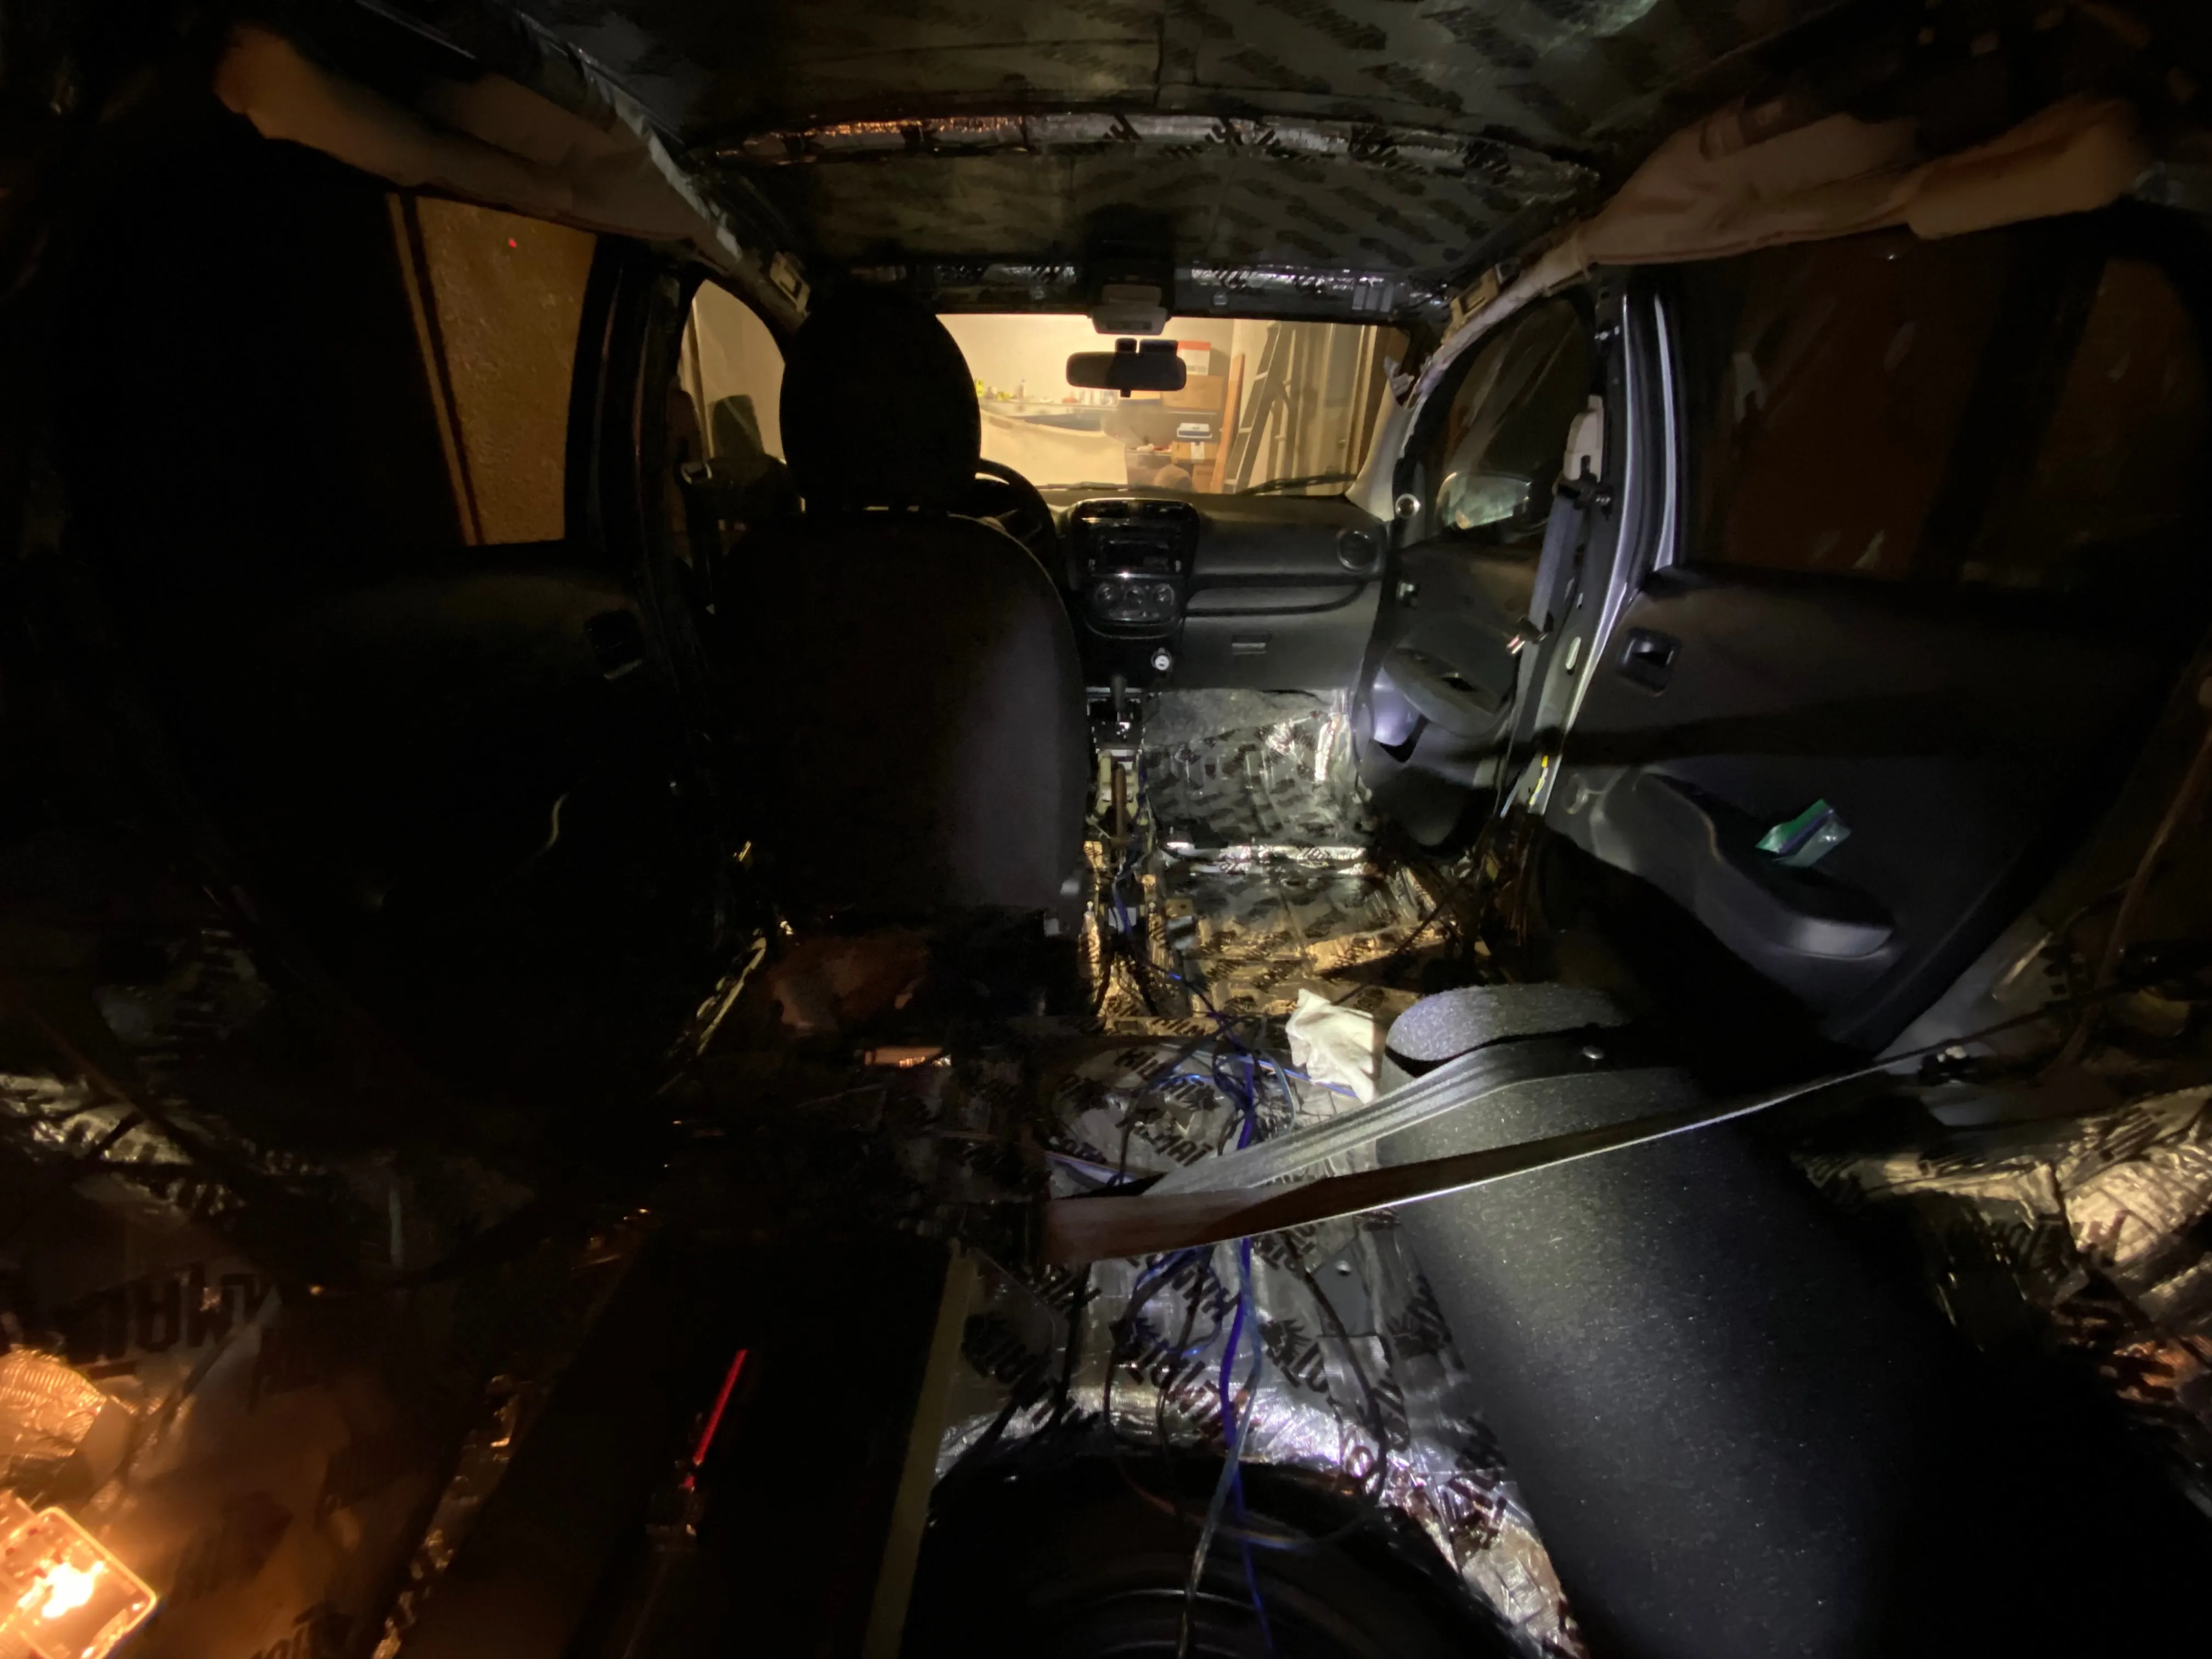
A little hard to see, but this picture is from the first time I ran all the audio after wiring it up in the car - a glorious moment! I don’t have a picture of everything put back together since it would just look like a regular car, but now I have a lot more respect for what’s going on behind the scenes.